At this point, full site editing in WordPress is a little over a year old.
The first phase of the project was rolled into core with WordPress 5.9. And the last several releases have focused on making the full site editing experience better and better for the user.
And now it might be at a point where you’re starting to wonder if you should be using it on your website.
To that, I would say that now is a great time to at least start looking at it and seeing if it’s viable to use for your website. There are a lot of possibilities that are unlocked for people to create cool and interesting websites without needing to add a page builder or write any code.
So let’s take a deep dive into the WordPress full site editing experience so you can get a taste of what it is and start thinking about using it for your website.
Table of Contents
- What is the WordPress site editor?
- Will full site editing break your classic theme?
- Differences between the site editor and block editor
- Templating blocks you can use
- Editing template parts
- Editing templates
- Getting started with site editing today
- Upgrade your block editor experience with the Crosswinds Framework
What is the WordPress site editor?
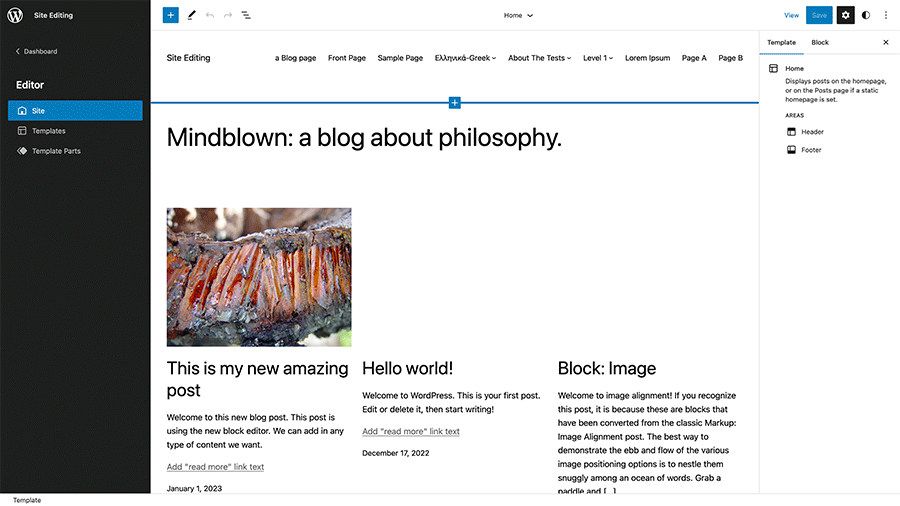
To put it simply, the full site editor in WordPress (or site editor as it’s now being referred to) allows a user to customize their entire website without having to write any code.
Previously, if you wanted to change the colors on your website or any of the templates you had to have a theme that allowed you to do that through your dashboard, use the additional CSS field in the customizer or create a child theme and write the code yourself.
Not anymore.
The full site editor gives you an interface where you can change the colors to match your business’ branding, change the way your header looks and even change the templates like the single blog post template, the archive template and more.
And the best part is that you don’t need to write any code for this to happen.
Also, some block themes also come with style variations, which allow you to change the colors, fonts and other styles on your website with one simple click.
As you’re about to see, there is a lot that goes into full site editing, and there is a pretty decent learning curve. The best way I’ve learned how to use the site editor is simply by playing around with it. You can give it a test run right in your browser by visiting the WordPress Playground.
You can also take a deeper dive into learning more about the site editor over on fullsiteediting.com.
Is it still in beta?
Technically the full site editor is in beta. If you’re using a block theme, you’ll see the “Editor” item in the “Appearance” menu still has the word beta next to it.
But it is getting closer and closer to being out of the beta phase. I really think that we’ll see that happen sometime in 2023. And it’s being used on production sites already (in fact, you’re on a website using the site editor right now).
Will full site editing break your classic theme?
Full site editing will not break your classic theme. I know there was some concern about this before WordPress 5.9 and the first iteration of site editing was released in 2022. But I haven’t seen any issues with site editing breaking classic or traditional PHP themes.
In order to get the full site editing features, you’ll need to be running a block theme that supports it. So if you don’t want to worry about FSE, just don’t switch to a block theme.
Differences between the site editor and block editor
I briefly want to discuss the difference between the full site editor and the block editor. While they both really look the same at this moment, there is a difference between the two.
The block editor is just for creating and editing content, like a post, page or another custom post type. You can’t edit templates or template parts in the block editor. Nor can you change the global styles. Also, if you try to add a post template block in a post or page outside of the query loop block, like the post content block, you’re going to end up with odd results.
The site editor allows you to make those changes; however, you can’t really make changes to the content of specific pages (unless you’re creating a dedicated homepage). It’s really the place where you’re going to make changes to the templates, like the single post and page templates, and the template parts, like the header and footer.
Most of the blocks and patterns are available in each editor, but some might not be.
Templating blocks you can use
With full site editing comes a number of additional blocks you can use to create and edit templates and template parts. Let’s take a look at some of the ones you’re going to be using a lot when editing your website.
Navigation block
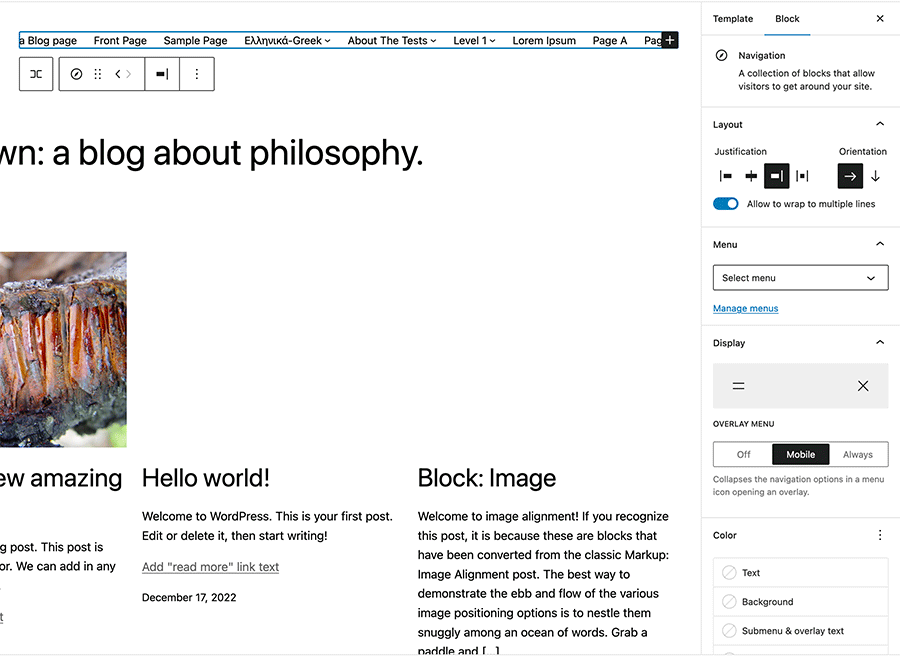
The block you’ll most likely be interacting with when you’re editing your website is the navigation block. This block is how you’ll add menus to your header, footer and anywhere else you might want to add a menu to your website.
This block is a bit tricky to use, especially if you’re creating a new menu through that block. Finding the right button to add in a new item or to create a submenu can take some clicking around to find the right one.
Alternatively, you can also simply select a menu that has already been created, which I’ve found to be the easier option.
The navigation block also has additional options to align the items in the menu and to show the mobile variation of the menu all the time, only on mobile devices or not at all.
It’s a really powerful block, but it does take some time to get used to how it works.
Query and post template blocks
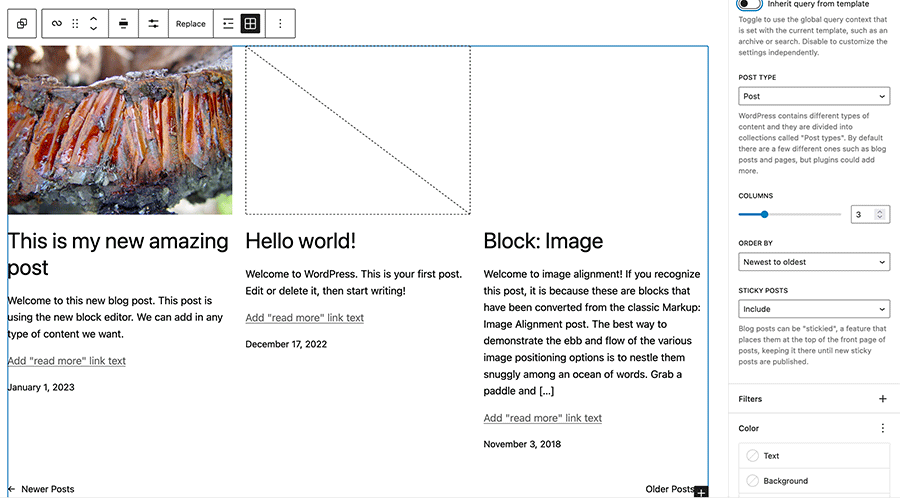
Another set of blocks you’ll be using with full site editing are the query loop and post template blocks. These blocks allow you to control what posts are shown on a page or in a template and how they are shown.
The query loop block allows you to create a query to get in posts (or other custom post types) and show them as a list or grid. The block essentially recreates what developers did in the code to get a certain list of posts and then loop through them to display them on the page.
The query block has settings for controlling how many posts are displayed, if you want to have pagination to see more posts and if you want to offset or skip a number of posts. There are also filters that allow you to determine what posts to get based on author, category, tags and dates.
I do want to note that if you’re adding or editing a query loop block in an archive template, you’ll want to make sure that you have the option to inherit the query set to true.
There are also a host of post template blocks that can be used inside the query loop block or a post or page template. There’s the post title, post content, featured image, read more, post excerpt, category, etc. to determine how your content is shown in various areas.
You can use these blocks to customize how the posts inside your query loop block look and to customize the post or page templates. For example, you can use the columns block and the featured image block to display the featured image for a post to the side inside the query loop.
Together these blocks are really powerful, so I highly recommend taking some time to play around to see what you can do with them.
Site blocks
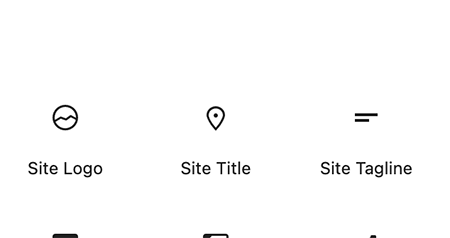
Finally there are a couple of site blocks that you’ll likely use a bit when customizing your website.
They are the site title, site description and site logo blocks.
These are pretty straightforward and do exactly what they say they do. The site title and description blocks will pull from your site’s settings, although you can change your site title and description by editing these blocks.
The site logo block will pull your site logo and you can set your website’s favicon (the icon you see in the tab next to the site title in the browser) from this block.
You’ll likely only be using these blocks in your header and footer.
Editing template parts
Now we start to get to the fun part: editing your templates and template parts.
We’re going to start first with the template parts and work our way up to the bigger templates.
What are template parts?
Template parts are basically reusable parts of the website. Your header, footer and sidebar (if you have one) are template parts.
They are used on basically every template on your website, so it makes sense to break these template parts into their own areas to edit. That means that you can edit your header in the template parts editor and it will be updated on every page of your website.
How to edit template parts
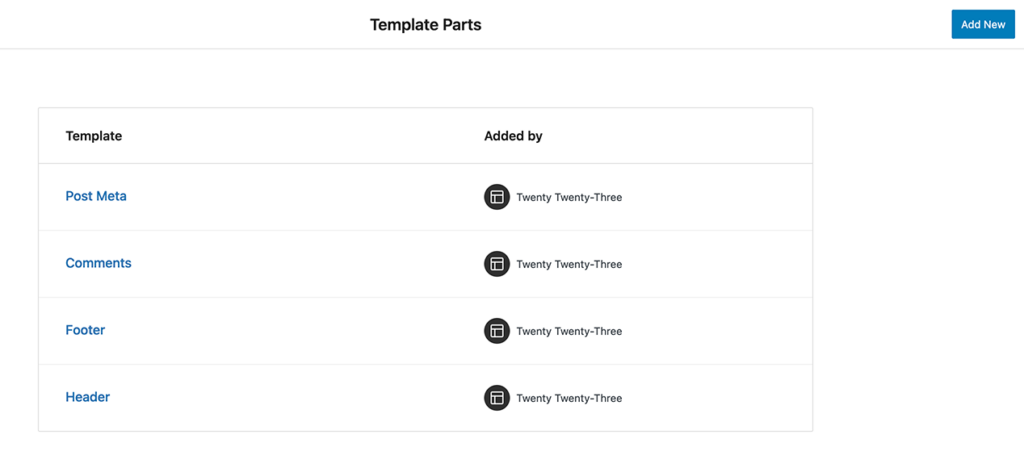
To edit template parts, you’ll need to go to the site editor and then select template parts and the template part that you want to edit.
Once you get to the editing part, it’s really similar to editing in the block editor. You can change or add navigation menus to your header or footer. Or maybe you want to swap out your theme’s site title block with the site logo or a basic image block to show your website or business’ logo.
Then when you’re satisfied with your changes, you can just hit save in the top right corner of the page and that template part will be updated across your entire website.
How do you create your own template parts?
You can also create your own template part and then add them to your templates.
To do this, go to template parts in the site editor and hit the plus icon to create a new template part. You can set the name for the template part, as what area it will be. Unless you’re creating a new header or footer, you’ll probably want to just use “General”.
Then once you’ve created the template part, you can build it out just like you would edit an existing template part. I would make sure to wrap the part in a group block and then get to way crafting a great template block.
When you’ve published the template part, you can add it to a template by going to edit a template (more on that in a minute), adding a template part block and selecting your new template.
Editing templates
Now that we know how to edit and create template parts, it’s time to step it up one more notch and learn how to edit templates.
What are templates?
In simple terms, templates are files that tell how certain content should be displayed.
For example, the single post template will tell the website how to show single blog posts. The page template will determine how a page will look. The archive template will determine how archive — including category — pages will look.
You can get even more specific. For example, you can determine how a category archive page will look with the category template. You can also determine how a specific category archive will look.
And you can even create your own templates to be used by post, pages or other custom post types on your website. And editing and creating templates is the same as using the regular block editor.
How to edit templates
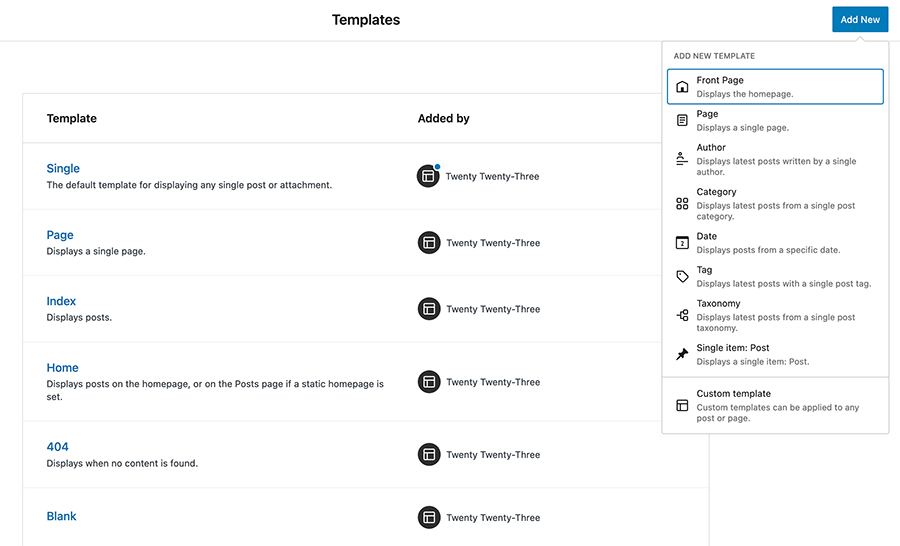
To edit templates, you’ll need to go to the site editor and then select templates and the templates that you want to edit.
Once you get to the editing part, it’s really similar to editing in the block editor. So maybe if you’re editing your theme’s single post template, you can add in the featured image block so that people will see the post’s featured image when they read the post.
Or maybe you want to have a “read more” button instead of a simple link when showing posts inside the query loop block for the archive template. Really, you can do whatever you want when editing the templates (although please be careful with what you change).
Then when you’re satisfied with your changes, you can just hit save in the top right corner of the page and that template will be on your website.
How to create your own custom templates
You can also create your own custom templates. To get started with creating a new template, go to templates in the site editor and hit the plus icon.
From here you can select what type of template you want to create. For author and category templates, you can create a new template for the entire type or for a specific user or category term. Or you can also create a custom post or page template.
Once you’ve created the template, you can edit it just like you would any other template.
I do want to note that if you’re creating a new archive template, you need to make sure that you have a query loop block added and that the inherit query option is set to true so that the template pulls in the correct posts for that archive template. Otherwise you’re going to run into issues.
Once you’re satisfied with your template, you can hit save in the top right corner of the screen to publish the template. And now you’ve created your new template.
Using page and post templates on a page
If you’ve created custom post and page templates, you can apply them to a specific post or page by going in to edit that content. Then look for the template dropdown in the right-side column. Finally, select the template you want and hit update.
Now that post or page will have the custom template.
Getting started with site editing today
So now that you know more about the WordPress full site editor, let’s take a look at how you can get started with it today!
Find a block theme that you like
The first thing that you’re going to need to use the full site editing tools is a block theme. If you don’t have a block theme active on your website, you won’t be able to see the site editor.
You can find block themes in the WordPress directory by using the block theme filter in search. From there you can find one that you like. And keep in mind that the latest default theme, TwentyTwenty Three, is a block theme and can be a good starting point.
Also, you’ll likely want to create a development or staging site to play around with it and get it just right before making the change on your live website. Just something to keep in mind.
Use style variations that come with the theme to find something you like
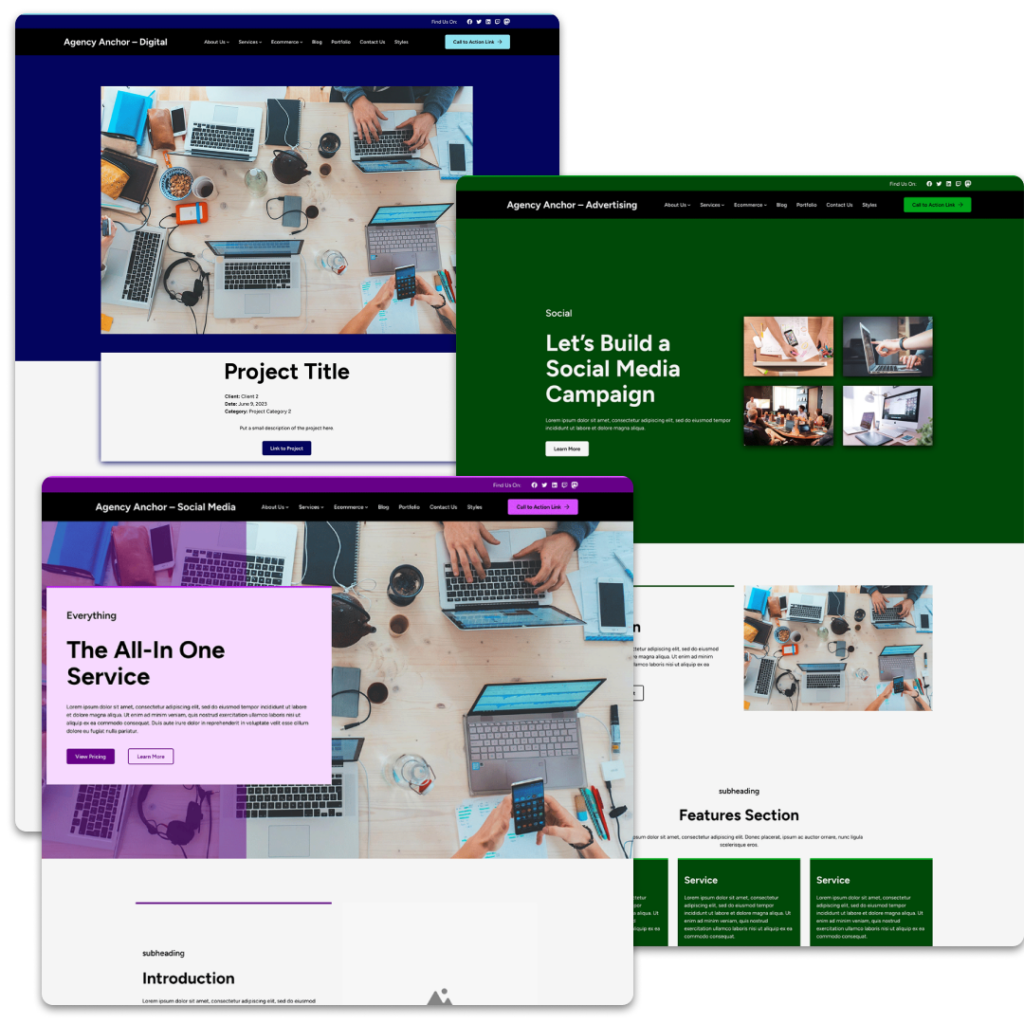
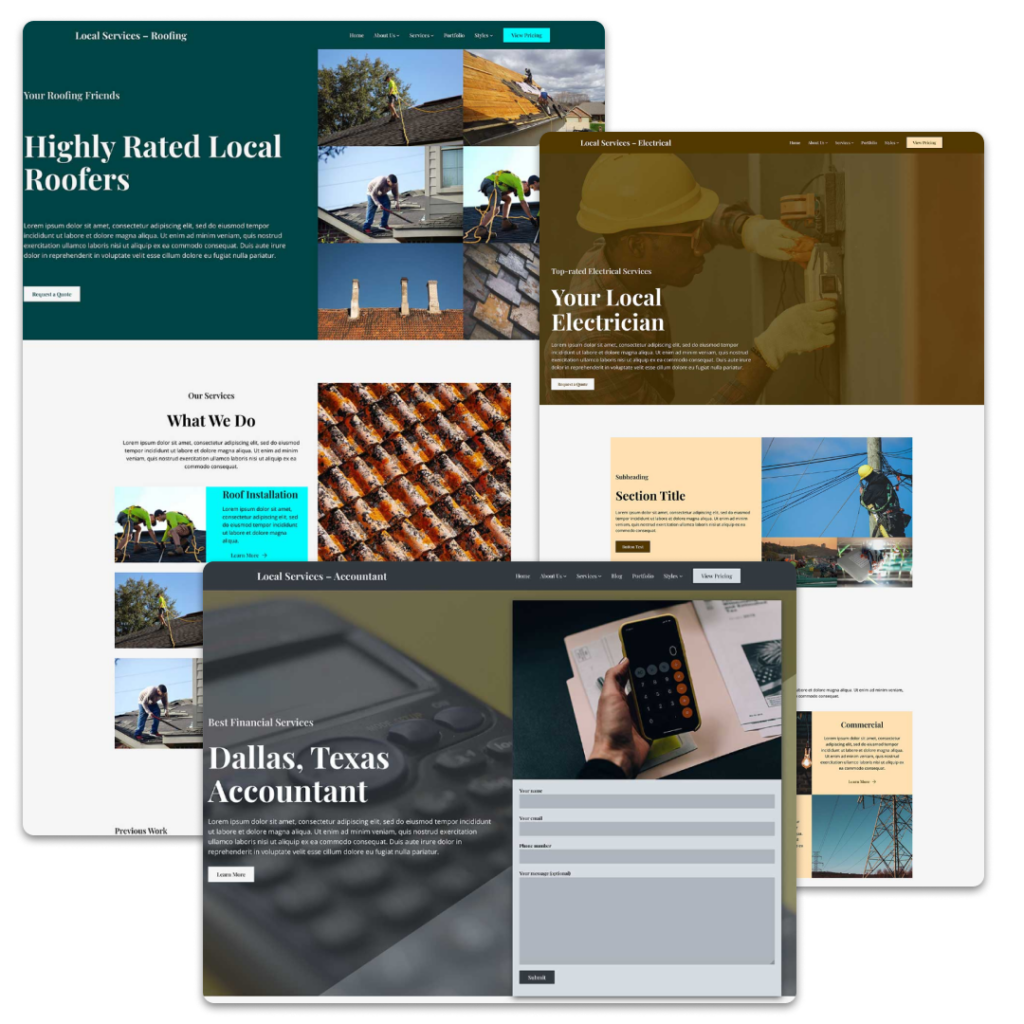
A lot of block themes now come with style variations.
These variations can change the colors, fonts and other styles used with the theme and on the site with just one click of the mouse. So even if the default style of a theme doesn’t look quite right for you, you might be able to change that with one of the style variations.
It’s a pretty powerful tool that can make customizing your website quicker and relatively painless.
Customize the colors to match your branding
You can go even further with customizing the colors used on your website. You can set each of the colors used by the theme specifically to match your personal or business branding.
To do that, you’ll need to go to the site editor, and then select “colors” in the right-side inspector column. Then you’ll click the “edit colors” button and from there you can individually customize each color used on the website.
You can see how to do that in the video below.
Create your navigation menus
You’ll also need to create menus for your website. And this part is a bit tricky, as we talked about earlier in this post.
One trick I’ve learned with this is to find a way to get the old menus screen back by adding in the code below to your theme.
From there, you can create new menus for each of the menu areas you need. Then go into the site editor and add those new menus to the header, footer or any template or template part.
Customize the templates to match what you want
Next, you can go into each of the templates and customize how you want them to look.
So if the theme you’re using doesn’t show the featured image in the single post template, you can go ahead and add that. Or maybe you want to customize how each post looks in the query for the blog or archive templates.
Just be careful not to overdo it. If you’ve picked a great block theme, you’ll really only need to make small changes here and there to make it look just right.
Learn web design
Full site editing and WordPress gives you a lot of power with the design and look of your website. But with great power comes great responsibility. You now have the power to make your website look amazing or awful.
So to keep you from ruining your website, you need to learn the principles of web design.
You don’t need to become a great expert in web design. But a good knowledge of what works and doesn’t work with design as well as understanding what calls to action are is a good way to keep yourself out of trouble with the new capabilities that you have.
If you want to get started learning web design, you can check out the resources below to dive right in.
- LinkedIn Learning
- Udemy
- Coursera
- Google and YouTube searches can be a good starting point as well.
Upgrade your block editor experience with the Crosswinds Framework
Want to make your block editor experience better today? Get started with the Crosswinds Framework today!
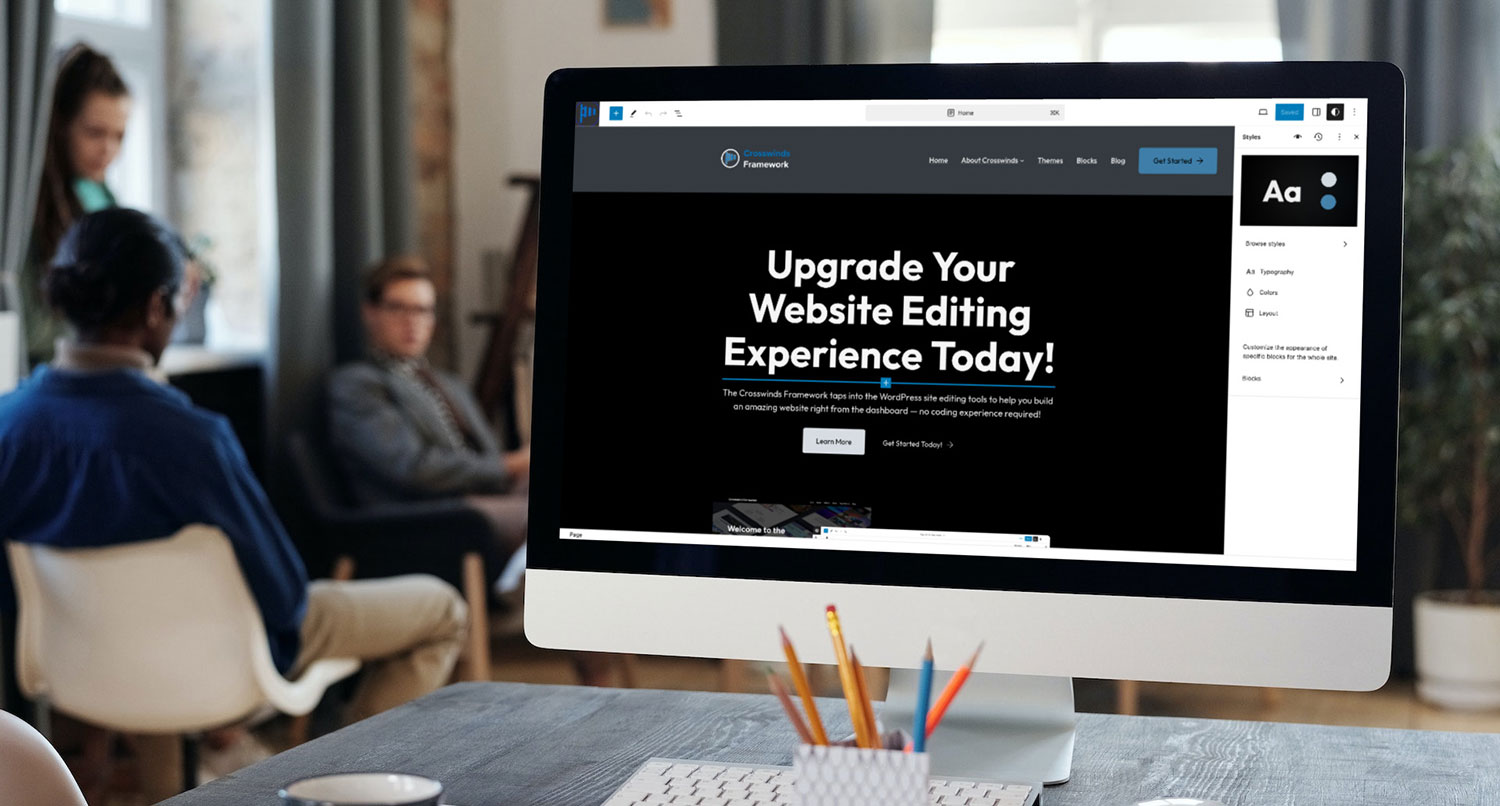
The Crosswinds Framework theme and Crosswinds Blocks plugin make editing your posts, pages, other post types and even your entire site much better. From over 12 additional blocks, better responsive layouts and over 30 patterns, you can become a pro at using the block editor.
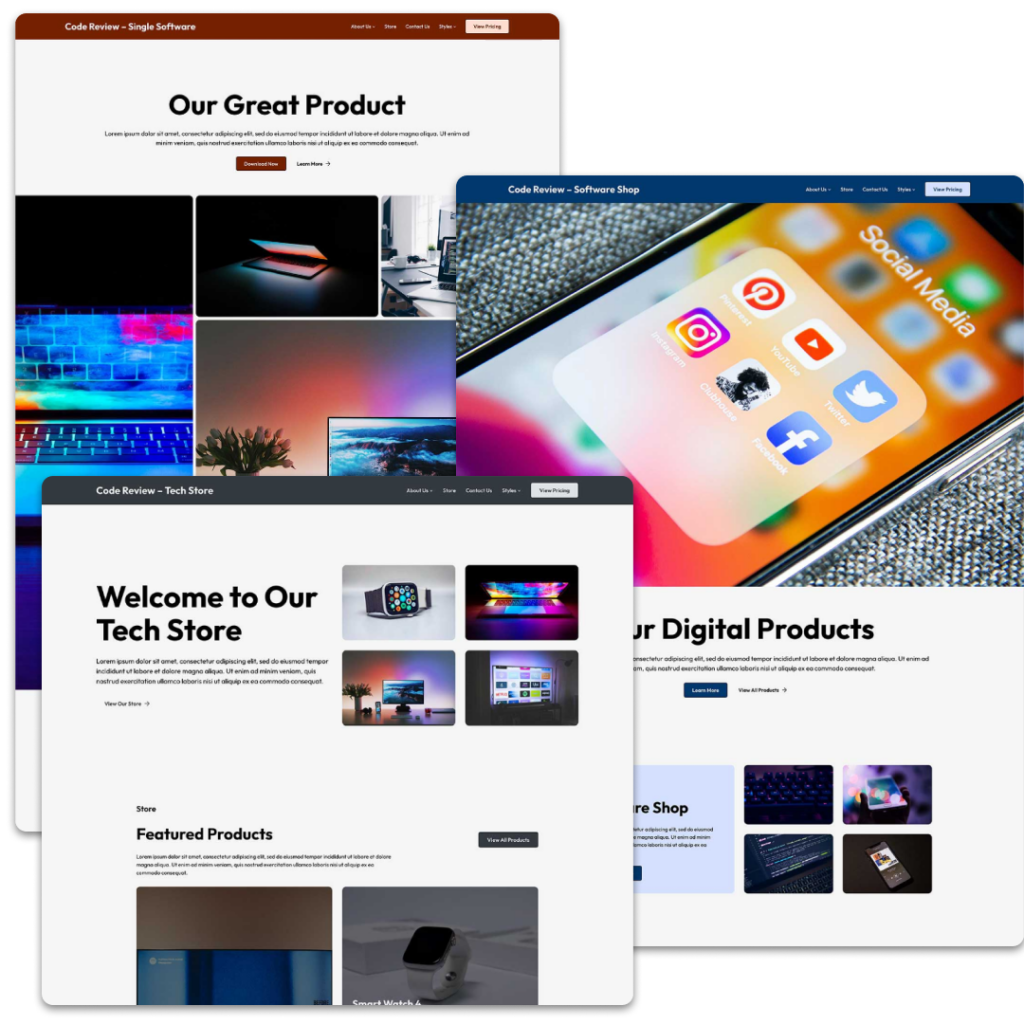
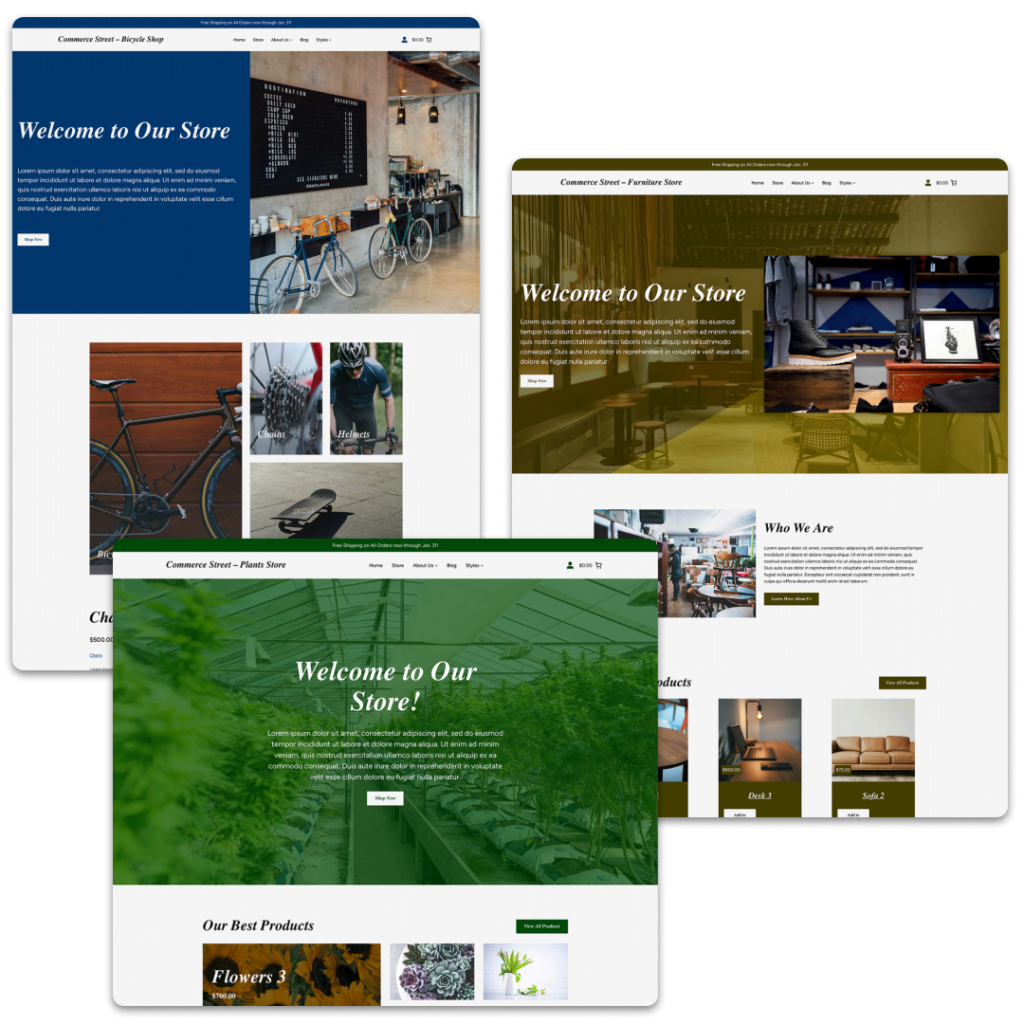
Plus, you can chose from one of the premium child themes to quickly create a website in just minutes.
It’s the best way to use the WordPress block and site editors today!
Tags:

