When the WordPress site editor rolled into core, developers got a brand new tool to play with: the theme.json file.
This complex and powerful file allows a theme developer to set the styling for every block that can be used on a website. Plus it allows developers to add in a color palette for users to use and easily add in various fonts for the website.
But it can be really confusing for both developers and even users alike. Trust me, when I first started diving into building block themes, it took me a while to really understand the theme.json file.
So in this post let’s take a look at what the theme.json file is and how theme developers and website users can use this file to build great websites.
Table of contents
What is the Theme.json File?
So first off, what exactly is the theme.json file?
In short, the theme.json file allows a developer to define various styles for a WordPress block theme inside of a single file using json.
In this file, a developer can set the styles for all of the different blocks — both core and custom blocks — as well as different elements, like links, buttons, headings, etc.
Also, developers can use this file to load in custom fonts, set the color palette that can be used throughout the site, set the spacing settings and more. Also, this file allows changing out styles via style variations much easier, but that’s another topic for another post.
This is much better than having to create either a large style.css file to cover all of the basics for styling a website or using a ton of different CSS files to do the same theme. Now everything is one spot.
It is a bit of a challenge to learn at first. There’s just a lot of trial and error you have to do as a theme developer to really understand how the file works for a theme.
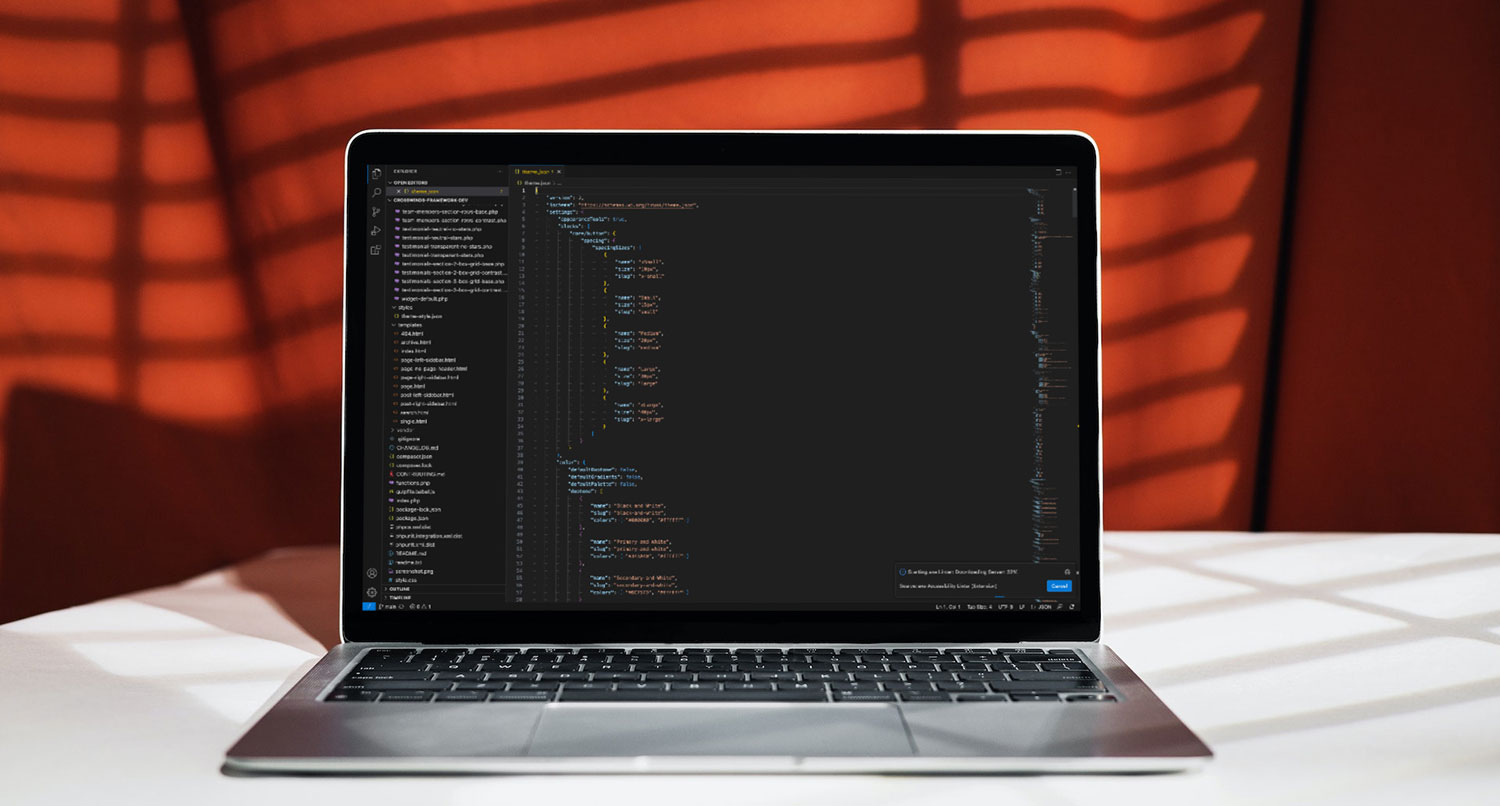
If you want to really see what a theme.json file looks like in the wild, you can dive into the Crosswinds Framework’s theme.json file on GitHub. Personally, I found looking at another theme’s file, copying it to a test theme and playing with it there was a big help in understanding how it works for a theme.
What Does the Theme.json Do for Your Website?
The theme.json file does a lot for your theme and website. Let’s dive into what it does.
Colors
You can define preset colors that can be used elsewhere in the theme.json file and in CSS files. Here you’ll add the slug, name and hexadecimal value for the color, and you can add in as many colors as you want.
You can also add in custom gradients and custom duotone combinations.
"color": {
	"defaultDuotone": false,
	"defaultGradients": false,
	"defaultPalette": false,
	"duotone": [
		{
			"name": "Black and White",
			"slug": "black-and-white",
			"colors": [ "#000000", "#ffffff" ]
		},
		{
			"name": "Primary and White",
			"slug": "primary-and-white",
			"colors": [ "#343A40", "#ffffff" ]
		},
		{
			"name": "Secondary and White",
			"slug": "secondary-and-white",
			"colors": [ "#6C757D", "#ffffff" ]
		}
	],
	"gradients": [
		{
			"gradient": "linear-gradient(0deg, var(--wp--preset--color--primary) 0%, var(--wp--preset--color--contrast) 100%)",
			"name": "Primary to Contrast",
			"slug": "primary-contrast"
		}
	],
	"palette": [
		{
			"color": "#ffffff",
			"name": "Base",
			"slug": "base"
		},
		{
			"color": "#000000",
			"name": "Contrast",
			"slug": "contrast"
		},
		{
			"color": "#343A40",
			"name": "Primary",
			"slug": "primary"
		},
		{
			"color": "#6C757D",
			"name": "Secondary",
			"slug": "secondary"
		},
		{
			"color": "#adb5bd",
			"name": "Tertiary",
			"slug": "tertiary"
		},
		{
			"color": "#d6dce2",
			"name": "Quaternary",
			"slug": "quaternary"
		},
		{
			"color": "#bdbdbd",
			"name": "Neutral",
			"slug": "neutral"
		}
	]
},
Fonts
You can load in custom fonts and load fonts locally and use them elsewhere in the file and in CSS files. Here you can load in as many fonts as you want and set a slug. Personally, I would use a slug naming convention like primary, secondary, etc. for the main fonts used by the theme by default. This will make it much easier to change out with the global style variations down the line.
Plus, you can add in custom font sizes as well (including using clamp() to make the font sizes shrink as the screen size shrinks.
Also, it’s now considered a best practice to bundle the custom fonts with your theme and load them locally.
Additionally, you can add in custom definitions for font weight and line height.
"typography": {
	"dropCap": false,
	"fluid": true,
	"fontFamilies": [
		{
			"fontFamily": "Figtree, sans-serif",
			"name": "Figtree",
			"slug": "primary",
			"fontFace": [
				{
					"fontDisplay": "block",
					"fontFamily": "Figtree",
					"fontStretch": "normal",
					"fontStyle": "normal",
					"fontWeight": "300 900",
					"src": [ "file:./assets/webfonts/figtree/figtree-variable.woff2" ]
				},
				{
					"fontDisplay": "block",
					"fontFamily": "Figtree",
					"fontStretch": "normal",
					"fontStyle": "italic",
					"fontWeight": "300 900",
					"src": [ "file:./assets/webfonts/figtree/figtree-italic-variable.woff2" ]
				}
			]
		},
		{
			"fontFamily": "\"DM Serif Display\", serif",
			"name": "DM Serif Display",
			"slug": "dm-serif-display",
			"fontFace": [
				{
					"fontDisplay": "block",
					"fontFamily": "DM Serif Display",
					"fontStretch": "normal",
					"fontStyle": "normal",
					"fontWeight": "400",
					"src": [ "file:./assets/webfonts/dm-serif-display/dm-serif-display.woff2" ]
				},
				{
					"fontDisplay": "block",
					"fontFamily": "DM Serif Display",
					"fontStretch": "normal",
					"fontStyle": "italic",
					"fontWeight": "400",
					"src": [ "file:./assets/webfonts/dm-serif-display/dm-serif-display-italic.woff2" ]
				}
			]
		},
		{
			"fontFamily": "\"Quattrocento\", serif",
			"name": "Quattrocento",
			"slug": "quattrocento",
			"fontFace": [
				{
					"fontDisplay": "block",
					"fontFamily": "Quattrocento",
					"fontStretch": "normal",
					"fontStyle": "normal",
					"fontWeight": "400",
					"src": [ "file:./assets/webfonts/quattrocento/quattrocento-regular.woff2" ]
				},
				{
					"fontDisplay": "block",
					"fontFamily": "Quattrocento",
					"fontStretch": "normal",
					"fontStyle": "normal",
					"fontWeight": "700",
					"src": [ "file:./assets/webfonts/quattrocento/quattrocento-bold.woff2" ]
				}
			]
		},
		{
			"fontFamily": "\"Raleway\", serif",
			"name": "Raleway",
			"slug": "raleway",
			"fontFace": [
				{
					"fontDisplay": "block",
					"fontFamily": "Raleway",
					"fontStretch": "normal",
					"fontStyle": "normal",
					"fontWeight": "100 900",
					"src": [ "file:./assets/webfonts/raleway/raleway-variable.woff2" ]
				},
				{
					"fontDisplay": "block",
					"fontFamily": "Raleway",
					"fontStretch": "normal",
					"fontStyle": "italic",
					"fontWeight": "100 900",
					"src": [ "file:./assets/webfonts/raleway/raleway-italic-variable.woff2" ]
				}
			]
		},
		{
			"fontFamily": "monospace",
			"name": "Monospace",
			"slug": "monospace"
		}
	],
	"fontSizes": [
		{
			"fluid": false,
			"name": "small",
			"size": "16px",
			"slug": "small"
		},
		{
			"fluid": false,
			"name": "Regular",
			"size": "18px",
			"slug": "Regular"
		},
		{
			"fluid": false,
			"name": "Medium",
			"size": "20px",
			"slug": "medium"
		},
		{
			"fluid": {
				"min": "20px",
				"max": "24px"
			},
			"name": "Large",
			"size": "24px",
			"slug": "large"
		},
		{
			"fluid": {
				"min": "24px",
				"max": "30px"
			},
			"name": "xLarge",
			"size": "30px",
			"slug": "x-large"
		},
		{
			"fluid": {
				"min": "30px",
				"max": "36px"
			},
			"name": "36px",
			"size": "36px",
			"slug": "max-36"
		},
		{
			"fluid": {
				"min": "36px",
				"max": "48px"
			},
			"name": "48px",
			"size": "48px",
			"slug": "max-48"
		},
		{
			"fluid": {
				"min": "42px",
				"max": "60px"
			},
			"name": "60px",
			"size": "60px",
			"slug": "max-60"
		},
		{
			"fluid": {
				"min": "48px",
				"max": "72px"
			},
			"name": "72px",
			"size": "72px",
			"slug": "max-72"
		},
		{
			"fluid": {
				"min": "60px",
				"max": "90px"
			},
			"name": "90px",
			"size": "90px",
			"slug": "max-90"
		}
	]
},
Spacing
You can also define spacing presets for the theme. Again, you can use clamp() to make the spacing sizes change as the screen size changes.
"spacing": {
	"spacingSizes": [
		{
			"name": "xxxSmall",
			"size": "5px",
			"slug": "xxx-small"
		},
		{
			"name": "xxSmall",
			"size": "10px",
			"slug": "xx-small"
		},
		{
			"name": "xSmall",
			"size": "20px",
			"slug": "x-small"
		},
		{
			"name": "base",
			"size": "30px",
			"slug": "base"
		},
		{
			"name": "Small",
			"size": "clamp(30px, 4vw, 40px)",
			"slug": "small"
		},
		{
			"name": "Medium",
			"size": "clamp(40px, 6vw, 60px)",
			"slug": "medium"
		},
		{
			"name": "Large",
			"size": "clamp(50px, 8vw, 80px)",
			"slug": "large"
		},
		{
			"name": "xLarge",
			"size": "clamp(60px, 10vw, 100px)",
			"slug": "x-large"
		}
	],
	"units": [
		"px",
		"em",
		"rem",
		"vh",
		"vw",
		"%"
	]
},
Block Styling
Now, where the real power of this file comes into play is defining styles for blocks and elements. For each element or block, you can define things like colors, typography (fonts, sizes, weight, line height, etc.), borders and so on.
And the styles you define here will automatically change the styles for those blocks throughout the entire website.
"core/buttons": {
	"spacing": {
		"blockGap": "10px"
	}
},
"core/code": {
	"color": {
		"background": "var(--wp--preset--color--contrast)",
		"text": "var(--wp--preset--color--base)"
	},
	"spacing": {
		"padding": {
			"bottom": "25px",
			"left": "30px",
			"right": "30px",
			"top": "25px"
		}
	},
	"typography": {
		"fontFamily": "var(--wp--preset--font-family--monospace)",
		"fontSize": "var(--wp--preset--font-size--regular)"
	}
},
Templates and Template Parts
Finally, you can define custom templates and template parts. For template parts, you’ll need to define the name (slug), title and area. And for templates, you’ll need to define the name (slug), title and post type(s) that it’s used for.
You still need to create them in the templates and parts directory, but you can add their name and slug in this file.
"templateParts": [
	{
		"area": "header",
		"name": "header",
		"title": "Header"
	},
	{
		"area": "footer",
		"name": "footer",
		"title": "Footer"
	},
	{
		"area": "sidebar",
		"name": "sidebar",
		"title": "Sidebar"
	},
	{
		"area": "uncategorized",
		"name": "comments",
		"title": "Comments"
	}
],
"customTemplates": [
	{
		"name": "page-no-page-header",
		"title": "Page with No Page Header",
		"postTypes": [ "page" ]
	},
	{
		"name": "page-right-sidebar",
		"title": "Page with Right Sidebar",
		"postTypes": [ "page" ]
	},
	{
		"name": "page-left-sidebar",
		"title": "Page with Left Sidebar",
		"postTypes": [ "page" ]
	},
	{
		"name": "post-right-sidebar",
		"title": "Post with Right Sidebar",
		"postTypes": [ "post" ]
	},
	{
		"name": "post-left-sidebar",
		"title": "Post with Left Sidebar",
		"postTypes": [ "post" ]
	}
]
Editing the Theme.json File as a Developer
So to be honest, creating a theme.json file can be tricky at first. There are a lot of options, and the formatting can be a bit difficult to get right if you’re coming over from using CSS. It took me a while to get used to using the theme.json file.
But the best way is to just dive right into the file.
So go ahead and create a theme.json file in your theme directory. Then, I’ve found that grabbing a theme.json file from another theme, bringing it over to your theme and editing it there is a good way to start. You can use the theme.json file for Crosswinds as a starting point, or use a tool like the theme creator on fullsiteediting.com to generate a starter file.
Then start customizing your styles throughout the file.
You can the theme.json reference in the WordPress documentation as an additional guide as well.
Quick Tips
Here are a couple of additional quick tips for creating or editing a theme.json file.
First, you can use CSS variables for styles you add in the theme.json file in the file itself. Also, you can use the CSS variables in any CSS you write for the theme.
- Colors: var(–wp–preset–color–slug)
- Font Family: var(–wp–preset–font-family–slug)
- Font size: var(–wp–preset–font-size–slug)
- Font weight: var(–wp–custom–font-weight–slug)
- Line height: var(–wp–custom–line-height–slug)
- Spacing: var(–wp–preset–spacing–slug)
Also, using the theme unit test and the formatting page that comes with it (make sure it’s converted to blocks) can be a great way to test the changes you make to the theme.json file.
Editing the Theme.json File as a User
If you’re just a user of a WordPress block theme, you won’t really touch the theme.json file since that’s in the code. And that’s okay!
Instead, you’ll use the global styles panel to control the colors, fonts and block-level styles for your site. We’ll cover this in more detail in another post.
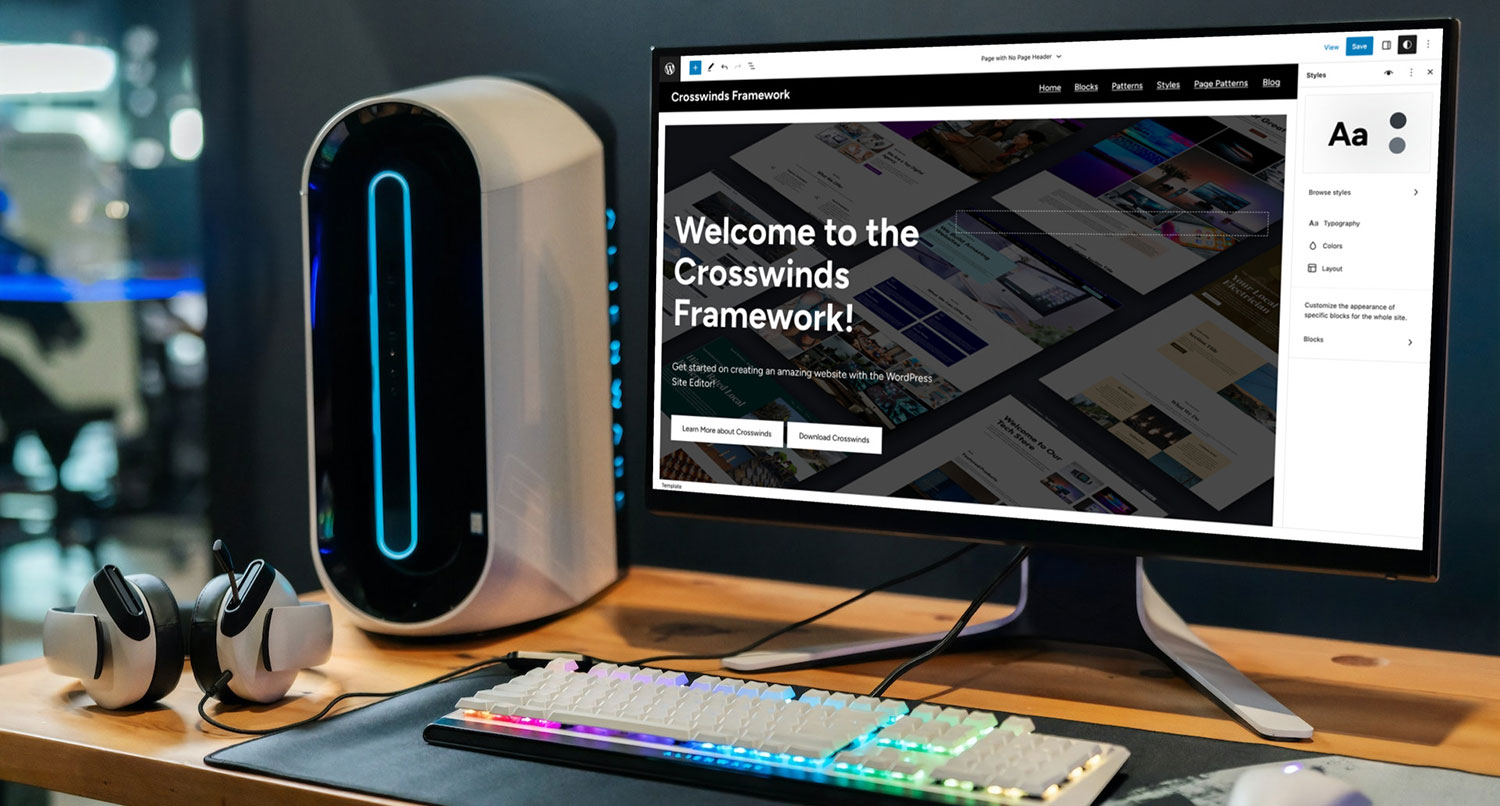
You can go ahead and get started editing your site’s global styles by editing a template in the site editor and clicking the “eye” icon/global styles button in the top right. Here in this panel you’ll be able to customize the colors, fonts, style variations and block-level styles.
And again, this means that you don’t have to write any code to get your website to look the way you want it to look.
Start Your New WordPress Website With the Crosswinds Framework
Want to just start using the WordPress site editor without having to worry about the theme.json file? No problem!
You can get started today with the Crosswinds Framework to build the website you’ve always wanted without having to worry about any of the code. The base theme is completely free for you to use and allows you to customize every bit of your website while improving a lot of the gaps in the site editor.
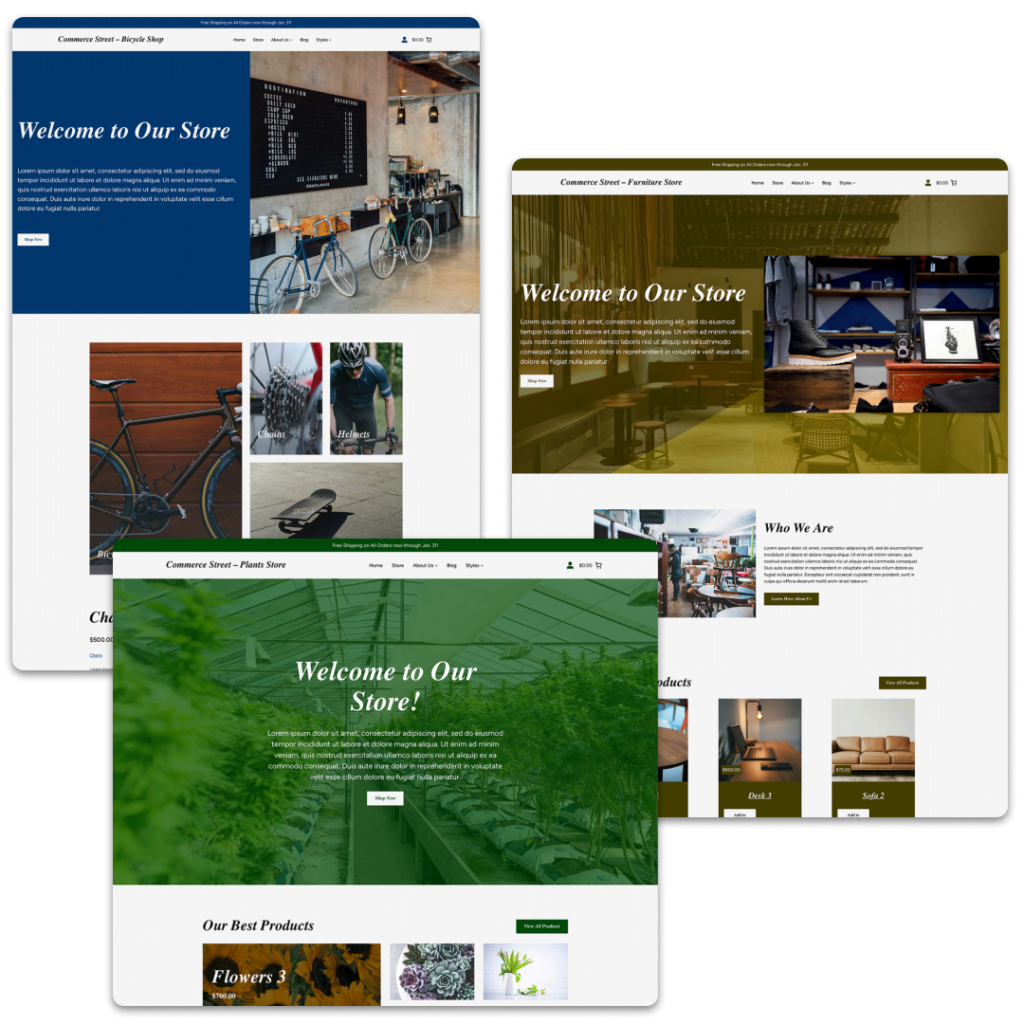
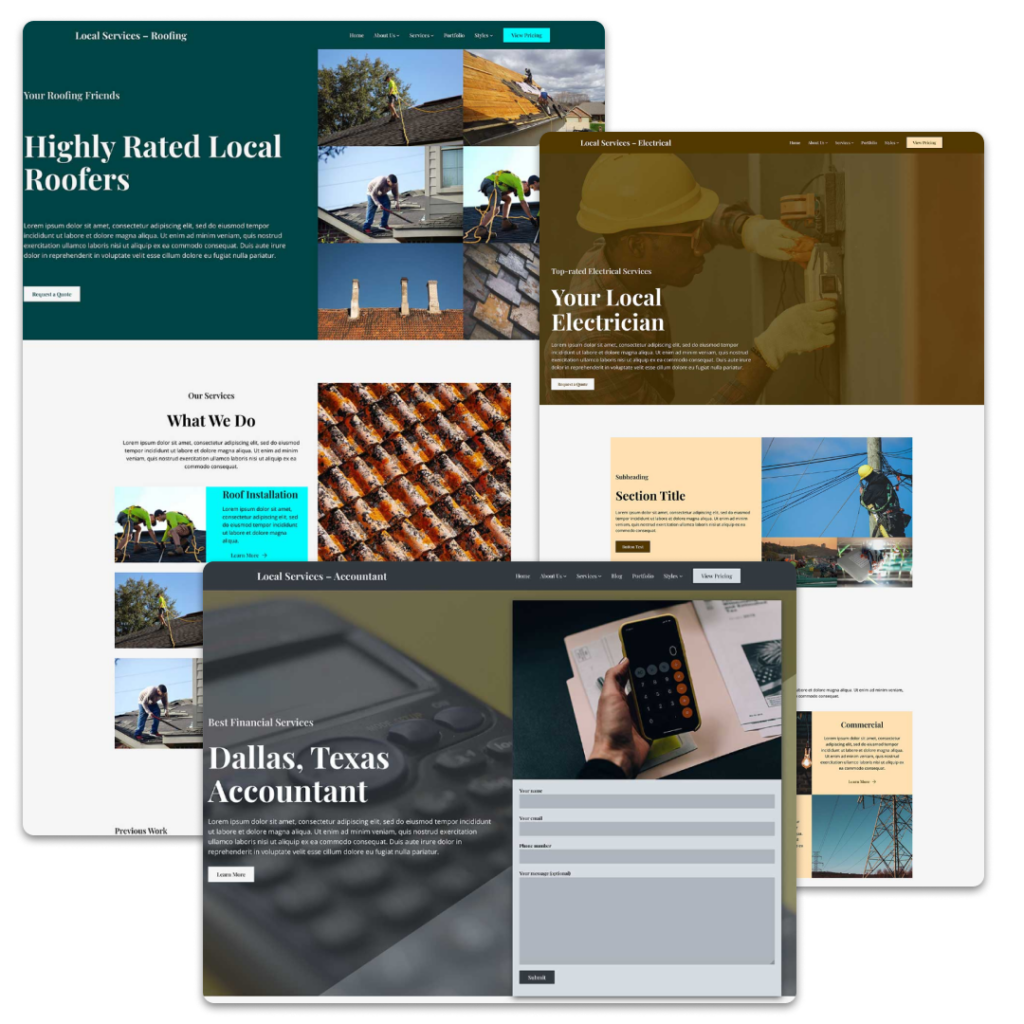
And if you want to get a head start on building your website, you can check out one of the niche child themes that work for you, whether you’re creating a website for yourself or your business.
Tags:

