The WordPress site editor has always been about giving end users the ability to customize their entire website right from the dashboard if they wanted to.
But up until the release of WordPress 6.5, there was a glaring omission that still required someone to know code and customize their theme files directly — fonts.
If you wanted to change out the fonts for your site, you had to directly edit the theme.json file for your theme or create a child theme with a new theme.json file and upload the fonts directly to your website.
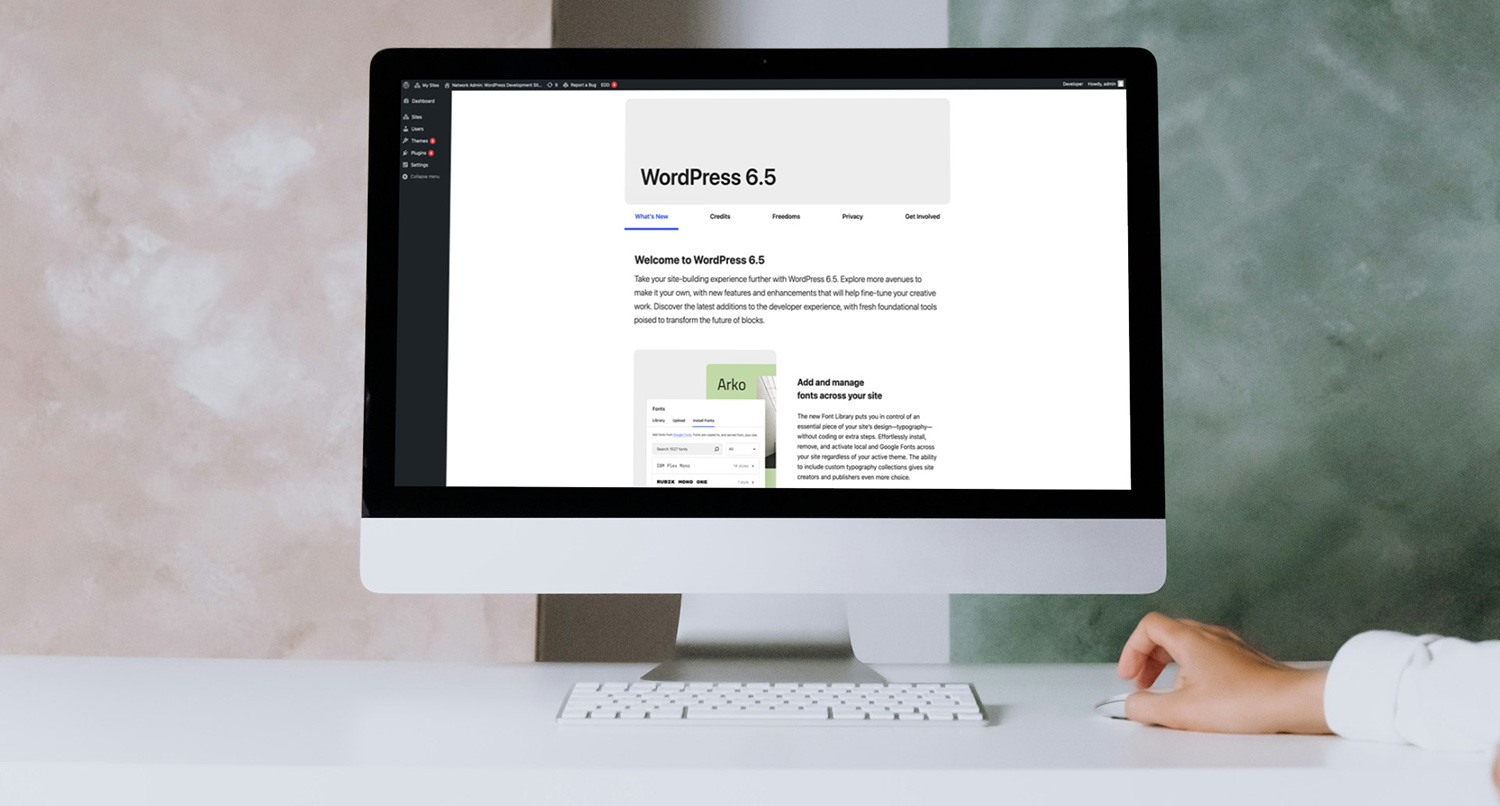
But not anymore. WordPress 6.5 introduced the font library to core, allowing you to install fonts from your website or even directly from Google Fonts from the dashboard and not have to worry about FTP clients and code.
So let’s take a deep dive into the new font library to see how you can use it to customize your website even further without having to leave the comfort of your dashboard.
What is the Font Library?
So what exactly is the Font Library?
Well, it’s a new feature that was rolled out in the WordPress 6.5 release that allows users to be able to completely customize the fonts that they can use on their website.
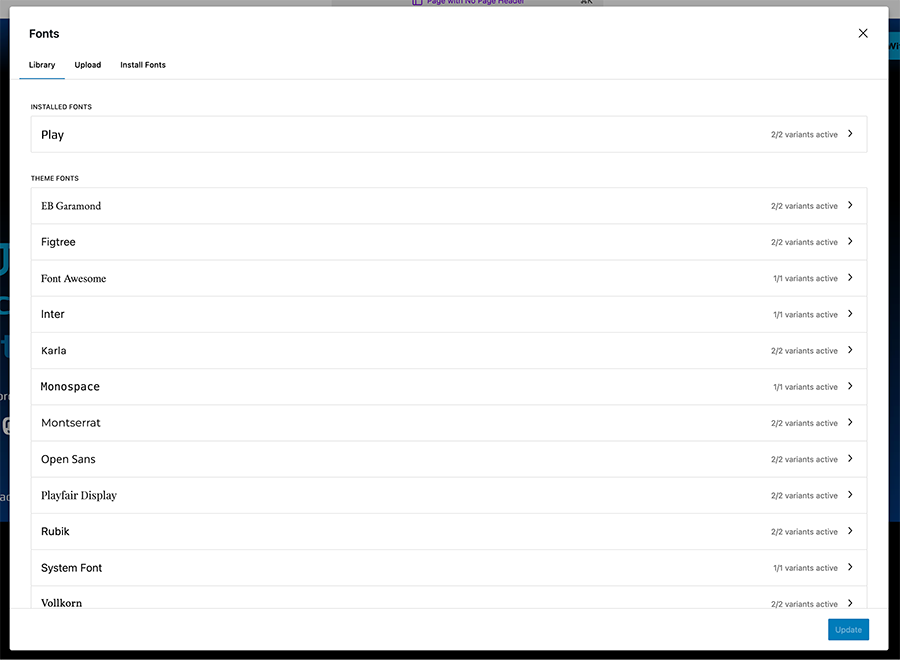
While users could use the site and block editor to choose what fonts were being used with different elements and blocks, they were still limited to the fonts that were packaged with the theme they were using.
The Font Library removes that limitation. You can use the library feature to install fonts from your computer or right from Google Fonts itself, allowing you to basically be able to use any font you want on your website. So if you like the look of a block theme that you want to use, but the fonts they come with don’t match what you want or need to use, you can use the Font Library to install the font(s) you need for your website.
Plus, you can also deactivate any fonts you’re not using, which can help your website’s performance.
In short, the Font Library gives you complete and total control over the fonts you use on your website.
How to Use the Font Library
Using the Font Library is pretty straightforward.
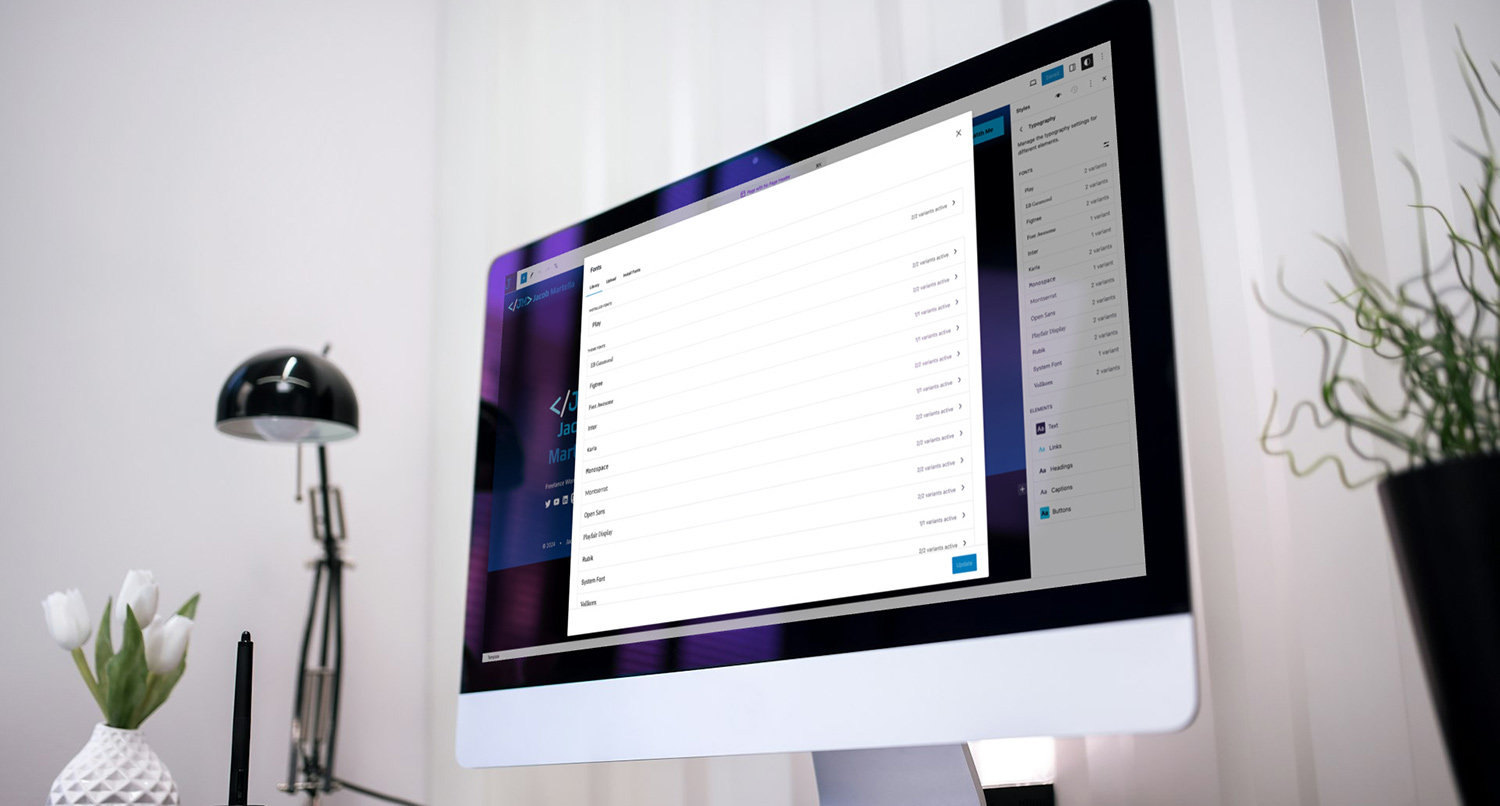
You can access the library by going to the site editor and then going to the global styles tab. From here, select “Typography” and then hit the little settings icon to the right of “Fonts”.
A modal should appear where you can manage all of your fonts.
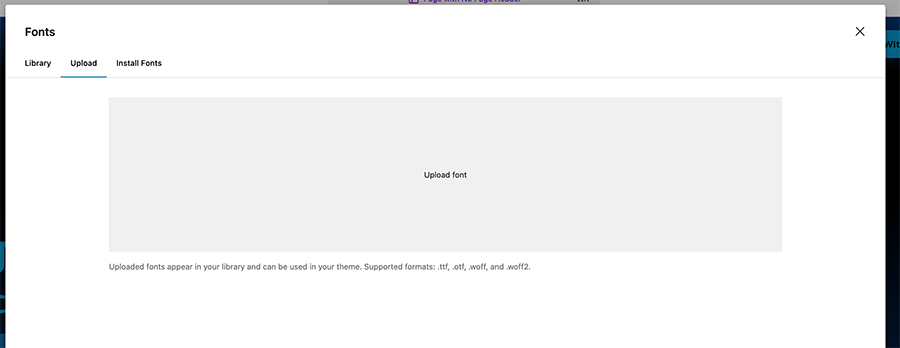
To upload a font, you can select the “Upload” tab and then upload the font from your website. If you’re using a premium font, make sure that you have the license to be able to use it on a website. And also make sure that the format of the font file is a supported format (more often than not it will be and you won’t have to worry about it.
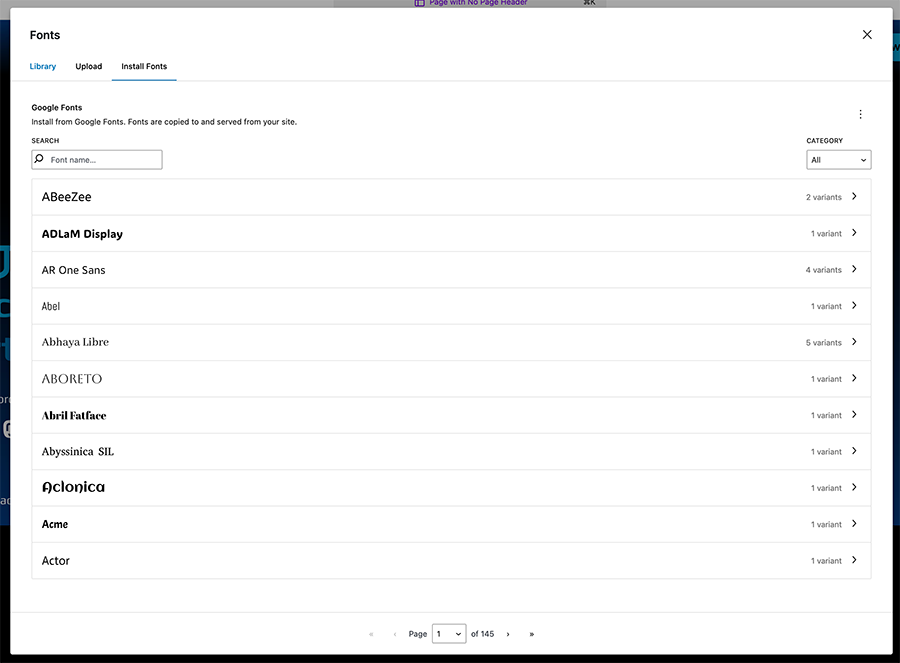
To install a font from Google Fonts, you can select the “Install Fonts” tab and then allow access to Google Fonts. From here you can search for any font that’s in Google Fonts and then install all variations or just certain variations of the font that you want. It’s pretty neat.
Finally, you can manage all of your fonts back in the “Library” tab. Here’s where you can activate or deactivate the fonts. It’s really a good idea to deactivate any fonts that you’re not using on your website.
And then you can select any of the active fonts (including the ones you’ve uploaded or installed on your site) on any element or block that involves typography just like you always could before.
It’s that simple.
Tips for Fonts
Now that you’re able to customize the fonts that are used on your website without input from a web designer, let’s go over some tips for using fonts on your website.
First, don’t use too many fonts. Really, you’ll probably only need two fonts for your entire website (plus maybe a third, monospace-esque font for things like preformatted text). One font will be for your heading (as well as maybe tables, buttons and other elements) and the other will be for your body text, like paragraphs and the like.
And you’ll want to make sure that the fonts pair nicely with each other. This can be very subjective, but I’ve left resources in the next section that can help you understand font pairings and find fonts that already pair nicely with each other.
Next, as I mentioned before, make sure that you deactivate fonts that you’re not using on your website. Font files can be pretty large files and loading a large number of fonts can really hurt the performance of your website. Instead, by deactivating the fonts that you’re not using you can help keep your website loading quickly for your readers.
Finally, please make sure that you’re using fonts that are legible. Yes, that cursive font might look cute for your design website or daily blog, but if it’s hard to read, people aren’t going to be able to read what you write. Which then defeats the purpose of your website. So take the time to make sure that the font you want to use is readable at a regular or small font size so that you know people will be able to read what you write.
Resources for Font Pairings
There are fonts that pair well with each other and fonts that absolutely do not. But finding the right pairing can be a tricky thing (trust me, I know from experience). Below are some resources that can help you get started finding the right pairings for your website.
Get Started Creating an Amazing Website with the Crosswinds Framework
Want to be able to use the new Font Library and the site editor on your new WordPress website? There’s no better place to start than the Crosswinds Framework.
The Crosswinds Framework is a WordPress block theme that unlocks the WordPress site editor for your website. That means that you can customize your entire website right from the dashboard. You don’t need to know any code to be able to change the colors on your site, the header or footer, your homepage or any page and yes, even your fonts on the site.
Plus, the Crosswinds Framework theme comes with over 100 patterns that can help you create amazing pages quickly. The Crosswinds Blocks plugin gives you 25 amazing blocks to add functionality to your website, like better search filters and results, an amazing grid block that gives you a ton of control, related posts and post navigation blocks, a single content block and more.
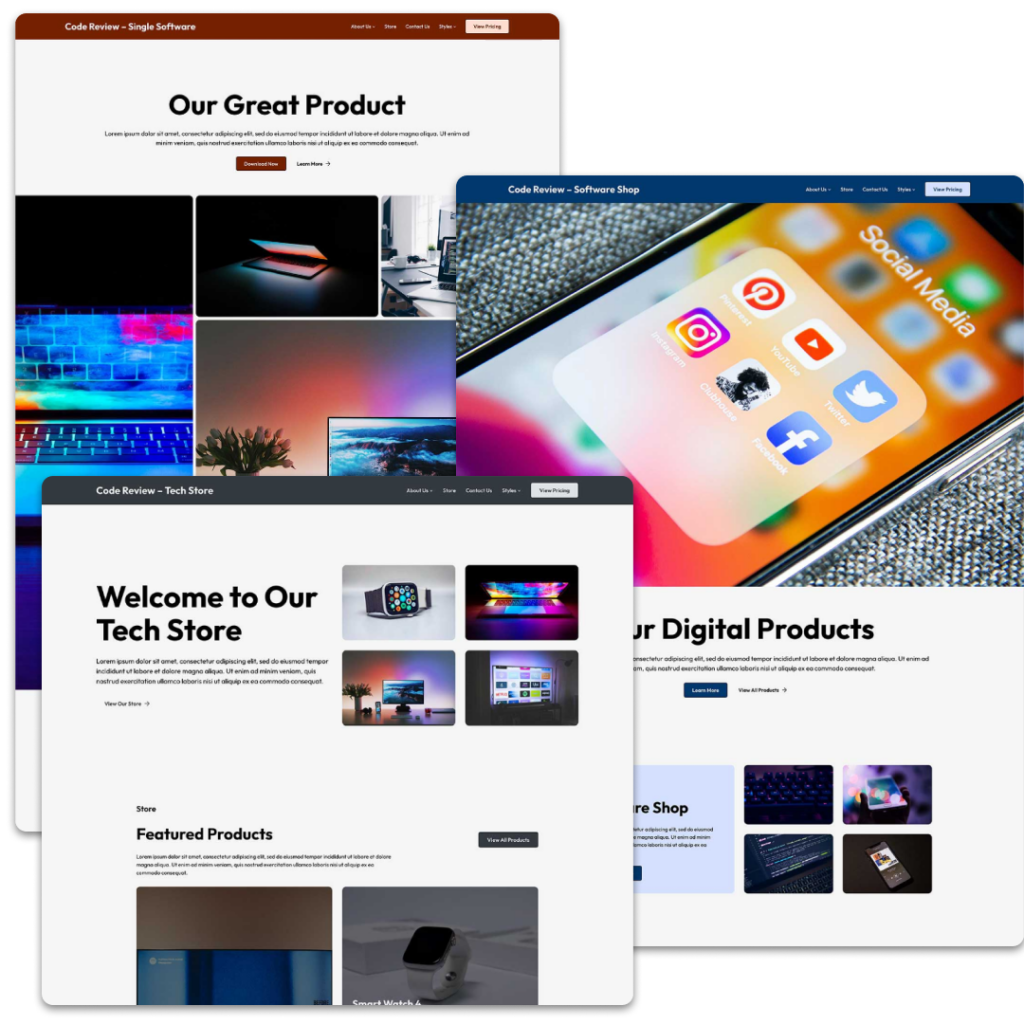
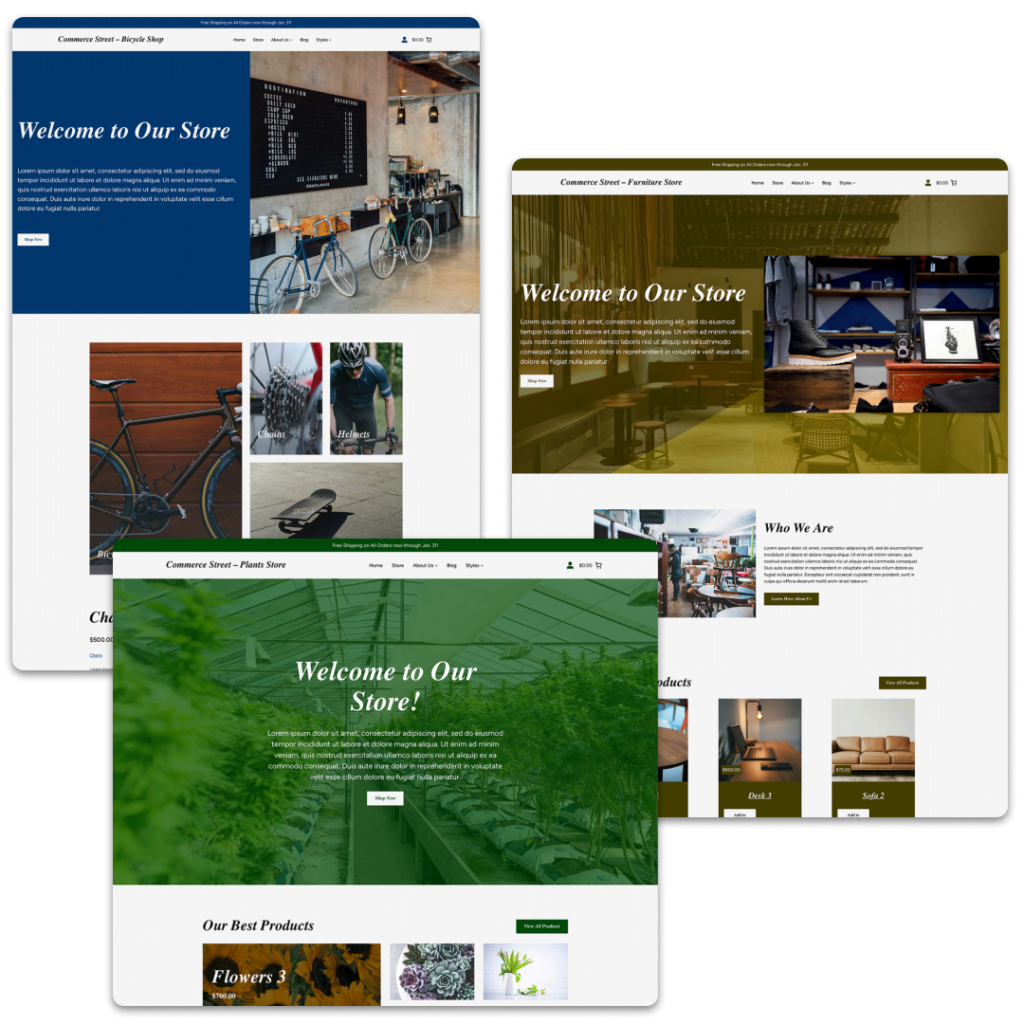
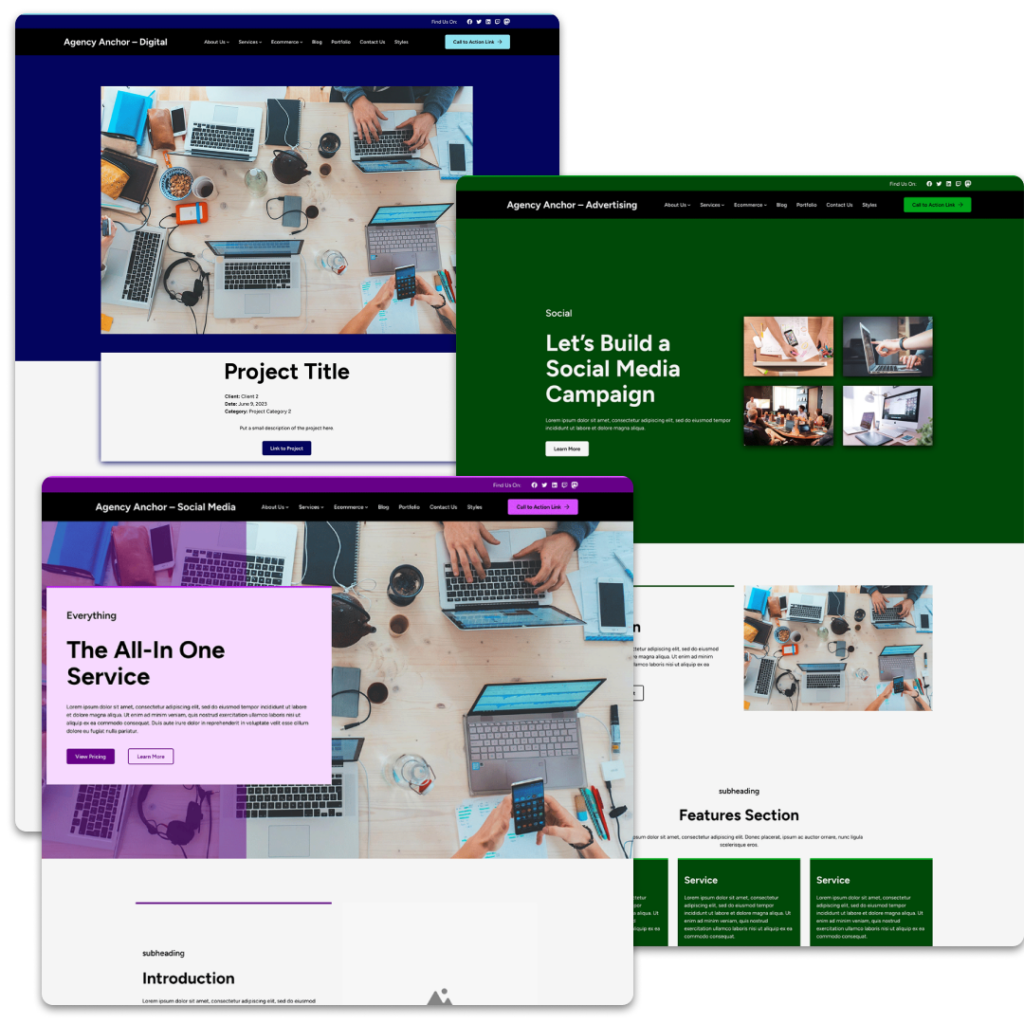
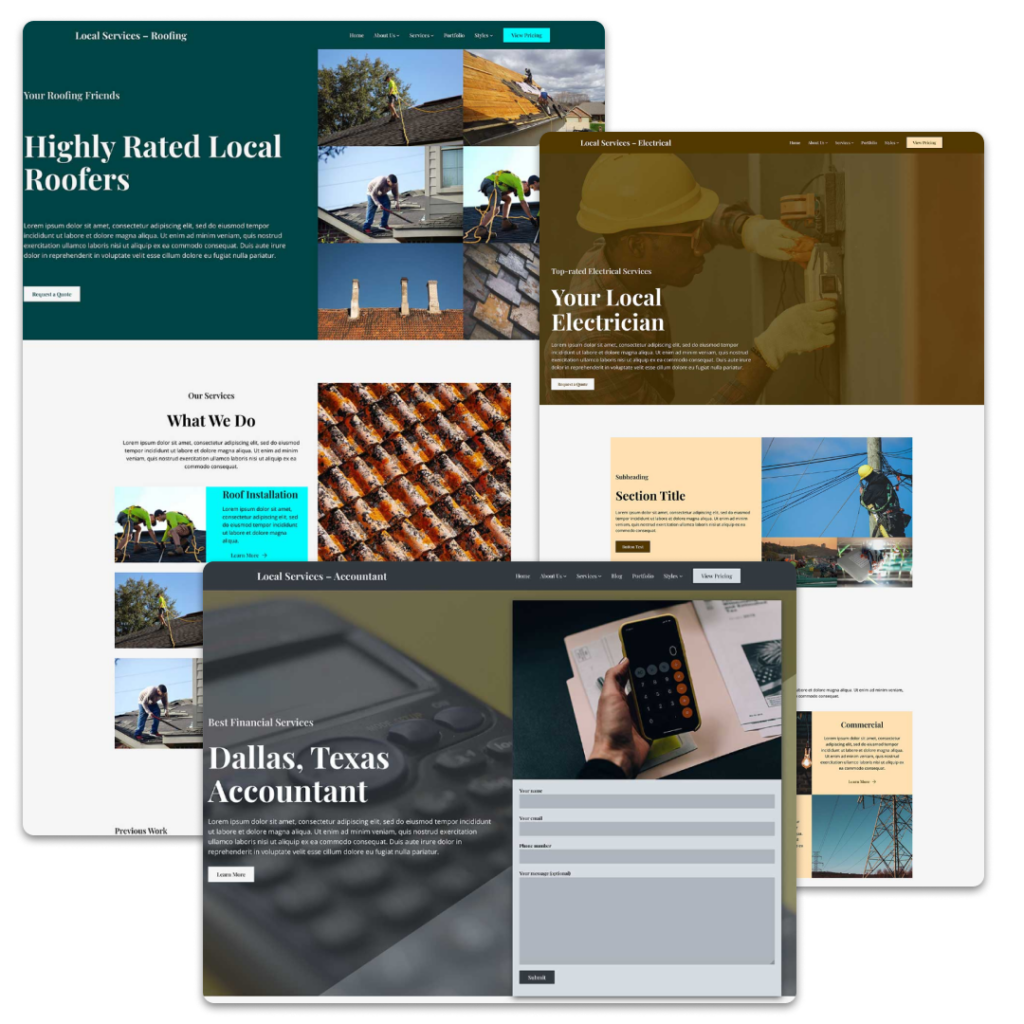
And if you want to get your website built even quicker, you can check out one of the purpose-built child themes that are specifically designed for a niche to help you create an amazing website in no time.
So if you’re ready to upgrade your WordPress site editing experience for your website, check out what the Crosswinds Framework can do for you!
Tags:

