One of the most powerful blocks you’ll use with the block and site editors is the navigation block.
While you could create as many menus as you wanted with classic themes, you were still at the mercy of the theme developers for where you could place them (outside of any widget areas).
Not anymore.
The navigation block allows you to create as many navigation menus as you want and display them wherever you want.
That being said, it is one of the most challenging blocks to learn. There are a lot of moving parts, as you can imagine with something complicated like menus.
So let’s dive in to learn more about the navigation block and see how you can use it on your website.
What is the Navigation Block?
The first thing we need to do is figure out what exactly is the navigation block.
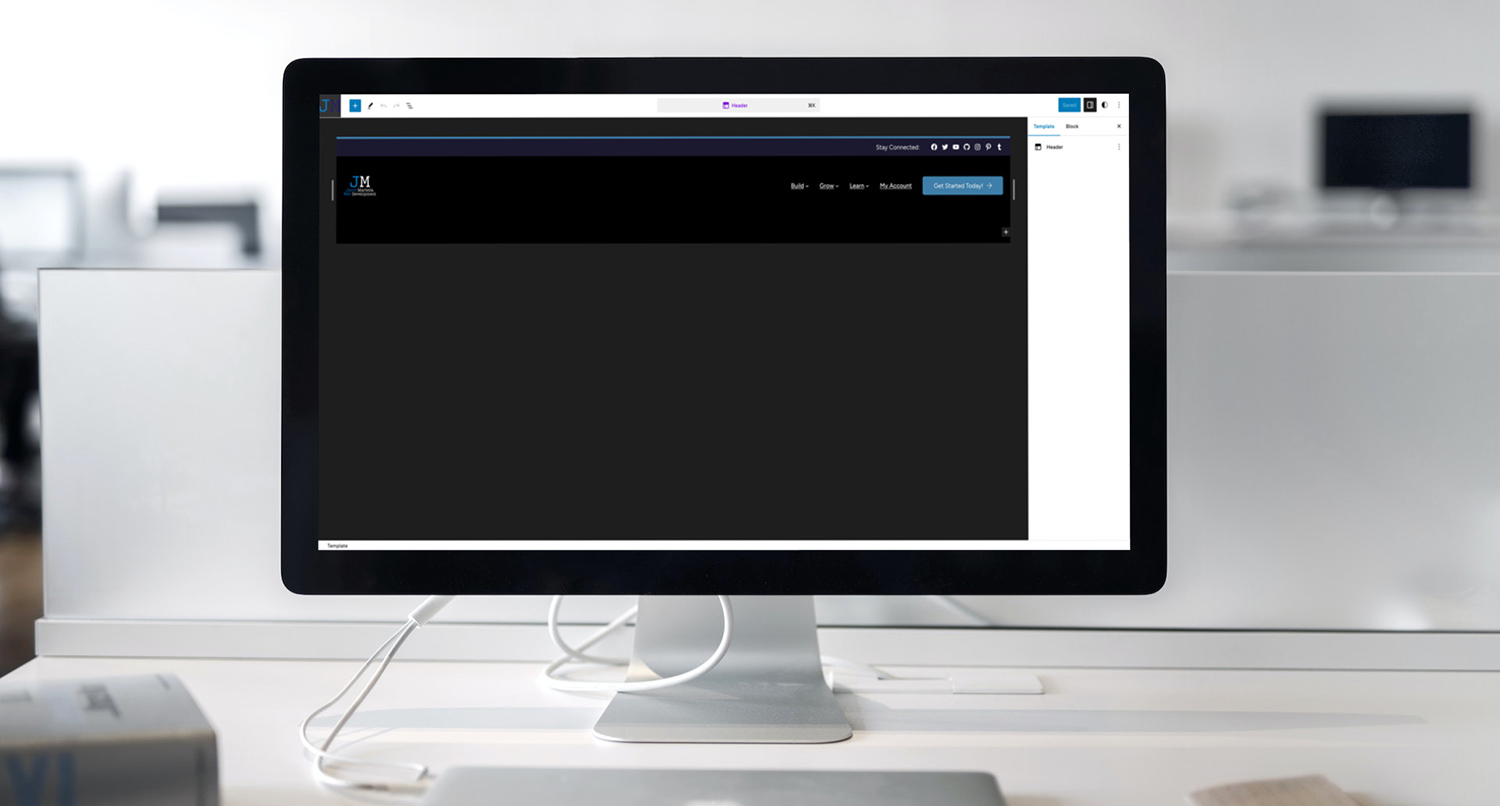
The simple answer is that the block allows you to add in menus wherever you want on your website. You can add in menus to your header, footer, sidebar, posts, pages — any content you have on your website.
As I mentioned above, you could create as many menus as you wanted with classic themes, but you could only display them where the theme developer allowed them to be shown. Now you can control where your menus appear.
Also, you can select any menus you previously created on your website or create a brand new menu right in the block itself. You can also manage your menus in the site editor if you want.
It is a bit of a challenge to get the hang of, as you’ll see in the next section. Even as an advanced WordPress user and developer, it took me a while to really get used to creating and managing menus with the navigation block.
But once you do get the hang of it, it becomes a really powerful tool for creating your website in the site editor.
Challenges with the Navigation Block
As I mentioned, the navigation block is one of the most challenging core blocks to get used to with the block and site editor.
My primary issue, and one that is getting fixed more and more as updates come out, is that you really have to hit the exact right spot to do what you want or you’ll end up on some other element that you don’t want to edit.
For example, many times I’ve tried to add a new item to the block in the page editor, barely missed with my click and suddenly started editing a different item. Or I’ve tried adding an item to a submenu only to just miss and wind up way outside the submenu and have to climb back into it to edit it.
Also, creating a new menu can be a challenge as well, especially if you’re new to WordPress or didn’t create many menus with the old menus screen. There are a lot of options and the workflow to add items can be confusing.
Personally, I find it easier to edit the menu items in the inspector column on the right hand side rather than in the block itself in the content column.
It’s just something you have to do over and over to get the hang of. And it continues to get better and easier with every update.
How the Block Works
As I’ve mentioned before, the navigation block is a bit more complicated than most core blocks. So let’s dive into how to use the navigation block.
Adding Navigation Items
The first thing you need to do after adding the navigation block to the editor is to start adding in menu items.
There are two places you can add in menu items: inside the block itself or in the right hand inspector column.
In the block itself, you’ll hit the plus icon to add a new item. If you’re in the inspector column, you’ll also hit the plus icon at the bottom of the list of items.
From here you can choose a page link, homepage link, a custom link and other types of links that might be available depending on the plugins you have on your website.
Once you select the link, it will be added to the menu. You can also edit the label for the link if you want.
Adding Submenu Items
Adding in submenus to your navigation block is a similar process, but with an extra step.
To create a submenu, you’ll need to select a top-level item and then hit the add submenu button. From here you’ll be able to add in menu items and links to that submenu just like you would with top level items.
You can also add in submenus inside of submenu items, but I highly recommend not going more than three levels deep. Once you get that far, it becomes a really bad user experience which will drive people away from your website.
Block Options
There are a lot of options for the navigation block outside of the standard colors, typography, spacing and border options.
You can set the justification of the menu between left, right, center or filling up the entire row, and you can also set it to be horizontal or vertical.
Also, you can also allow the menu to wrap lines or not.
Next, you can determine whether there will be an overlay menu always, at mobile screen sizes or never. If you have an overlay menu, you can choose to show icons or text for opening and closing the menu as well as the type of icon shown.
Finally, you can control whether or not to have submenus open on click or hover and whether to show arrows if a menu item has a submenu.
Creating a Simple Navigation Menu
Creating a menu is easier shown than written out, so below is a quick video showing how to create a simple navigation menu through the site editor.
Creating a Complex Navigation Menu
Below is a quick video showing how to create a more complex menu with submenus.
Editing Navigation Menus Outside of a Template or Template Part
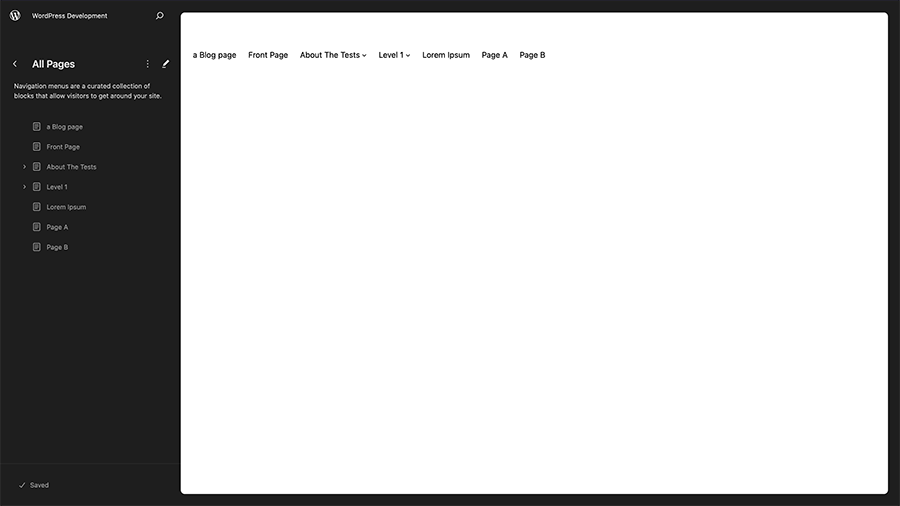
With WordPress 6.3, users got an easier way to edit the contents of a navigation menu outside of the navigation block. Now, you can edit menus right from the site editor screen itself.
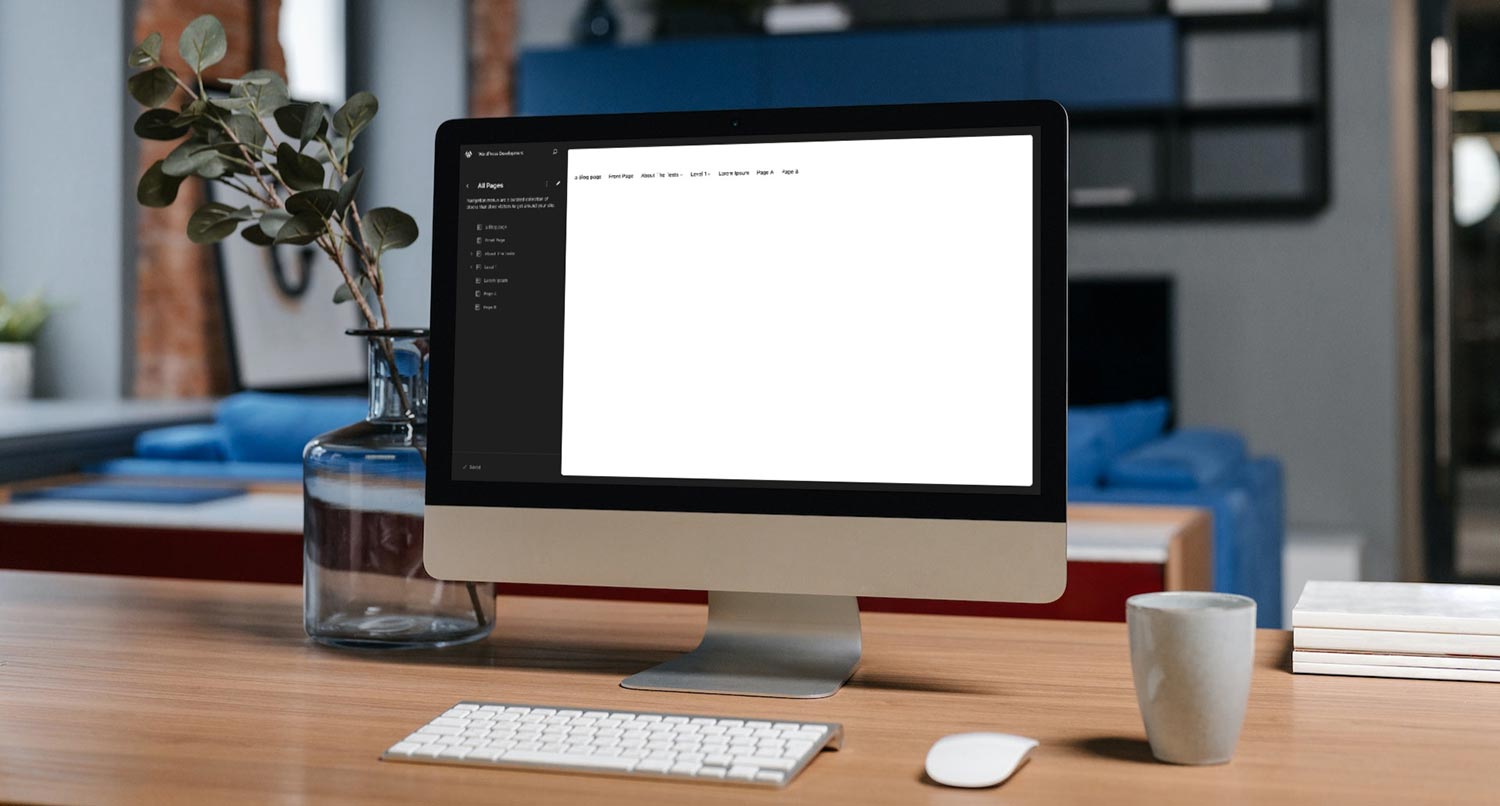
To do that, go to the site editor, and then hit the “Navigation” tab. Then you can select the menu that you want to edit.
From here, you can rename the menu so that it’s something you recognize and move items around in the menu.
If you want to make more complex changes, like adding items or adding submenus, you’ll need to hit the edit icon. This takes you to a very simplified screen where you can edit just the menu without any other blocks around it.
You won’t be able to edit style things like if it has an overlay or the orientation of the menu. But if you’re just needing to edit a menu and not the rest of the template or template part where it resides, this is the best way to do it.
Get Started with the Navigation Block with the Crosswinds Framework
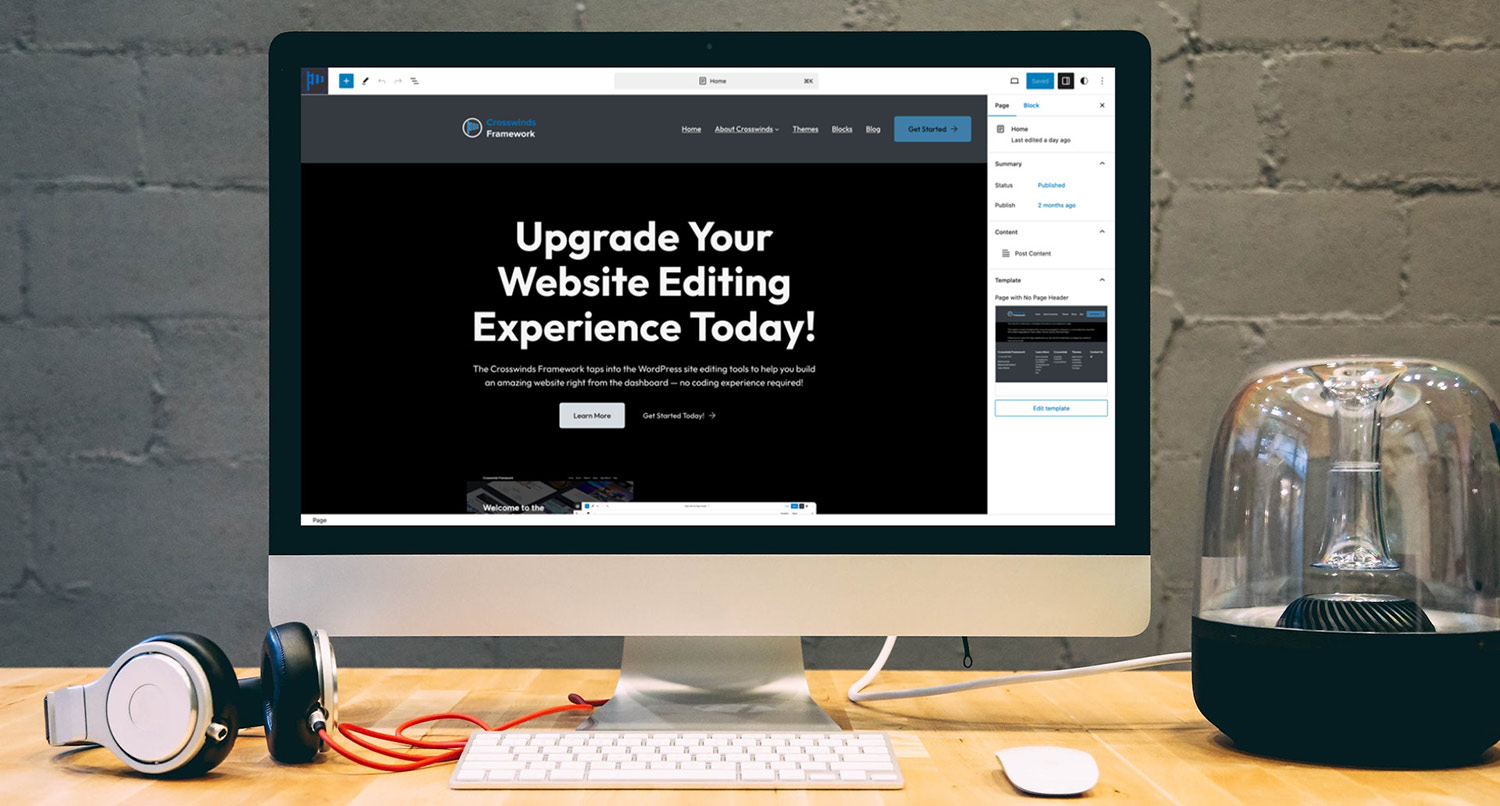
Want an easier way to deal with navigation menus? You’ll want to check out the Crosswinds Framework themes.
Each theme comes with carefully thought out menu locations in places that make sense for your users. All you have to do is just add in your menu items. Simple as that!
You’ll be using the navigation block (and other blocks) like a pro in no time!
Tags:

