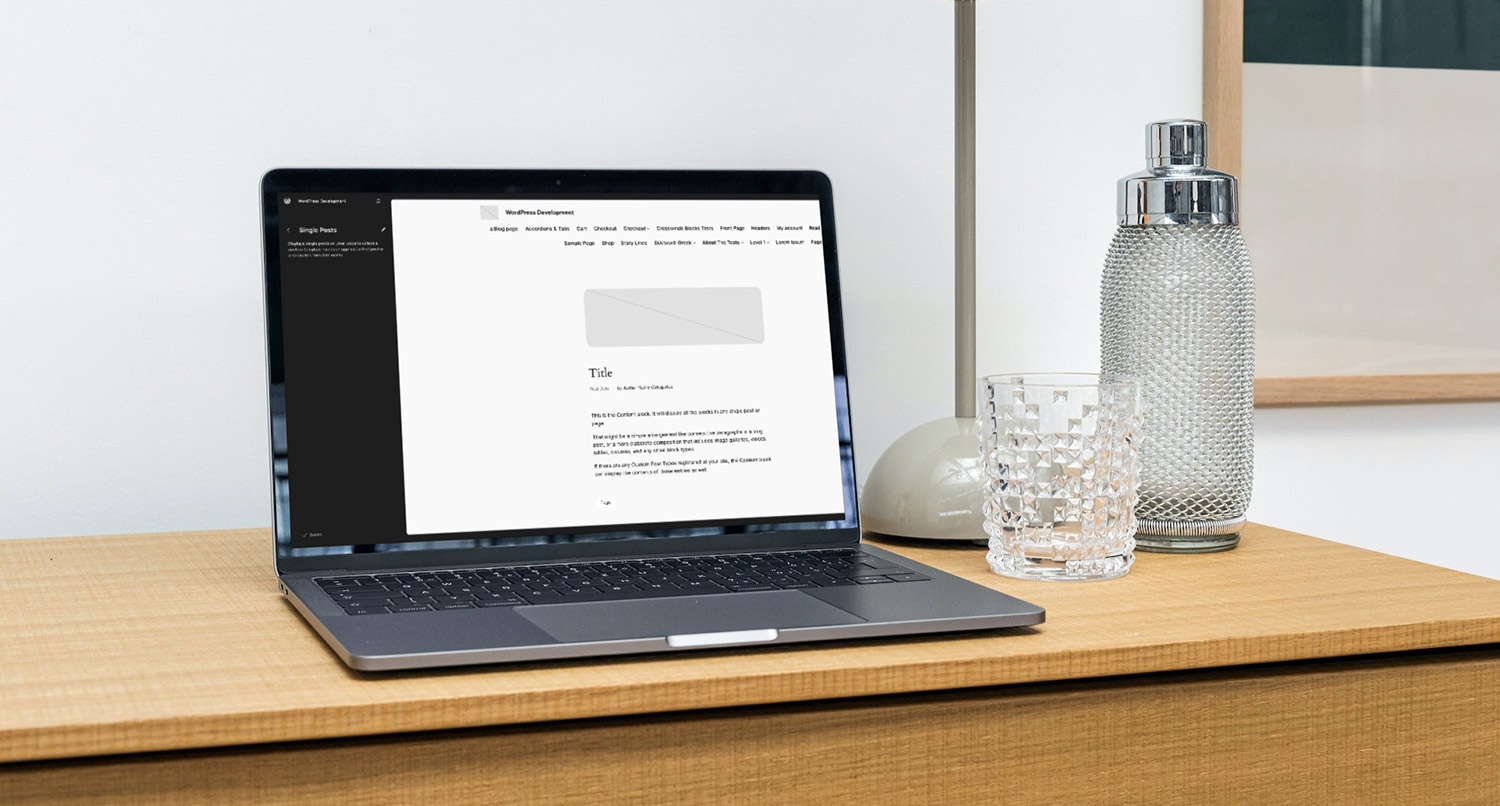
The single post template is one of the most important parts of your website.
This is the template that’s used to display each of your blog posts. If you use a blog on your website (or if blogging is all that you want to do on your website), this is a crucial page. And chances are high that you might want to make some of your own customizations and changes to get it to look just how you want it to look.
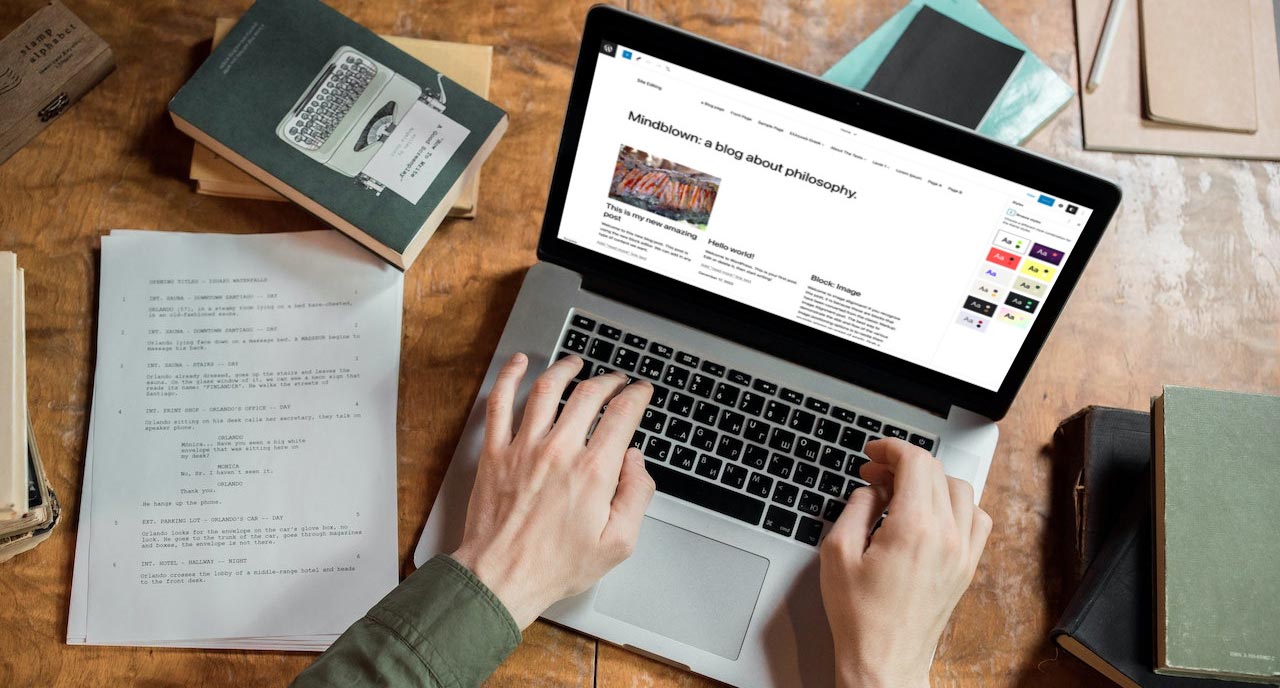
Previously you would have had to dig through the PHP and probably needed to create a child theme to customize your single template. But with the WordPress site editor, you can do all of that right from your dashboard.
So let’s dive into the single post template and see how you can edit and create single templates for any of your custom post types.
What is the Single Post Template?
So first things first: what is the single post template on your website?
The simple answer is that it’s the template that is used to display each of your blog posts. When you go to view a post, the single template is used to create the layout of the page.
Typically the template will use the post title block, post content block, various post meta blocks (i.e. date, author, categories, etc.) and comments blocks. But you could use other blocks on this template as well. For example, you might want to use the cover block that uses the post’s featured image on the template.
Also, the single template will be the template used for all post types (aside from pages) unless you create a dedicated single template for a post type. So if you have a video post type, you would want to create a single template for videos unless you want it to look just like the single post template.
Just like with the archive template, you can create a single post template for every post or just specific posts.
So if you’re looking to customize the way people read your blog posts or any of your custom post types, this is the template to use.
Blocks You’ll Use for the Template
Now that we know what the single post template is, let’s go through some of the blocks you’ll probably use in the single template.
- Title – Just like the name implies, this displays the title for the post. You’ll want to set this as a level one heading in the template.
- Post Content – This displays the content for the post. There aren’t really any additional settings you need to worry about with this block. Just make sure that it’s in the template.
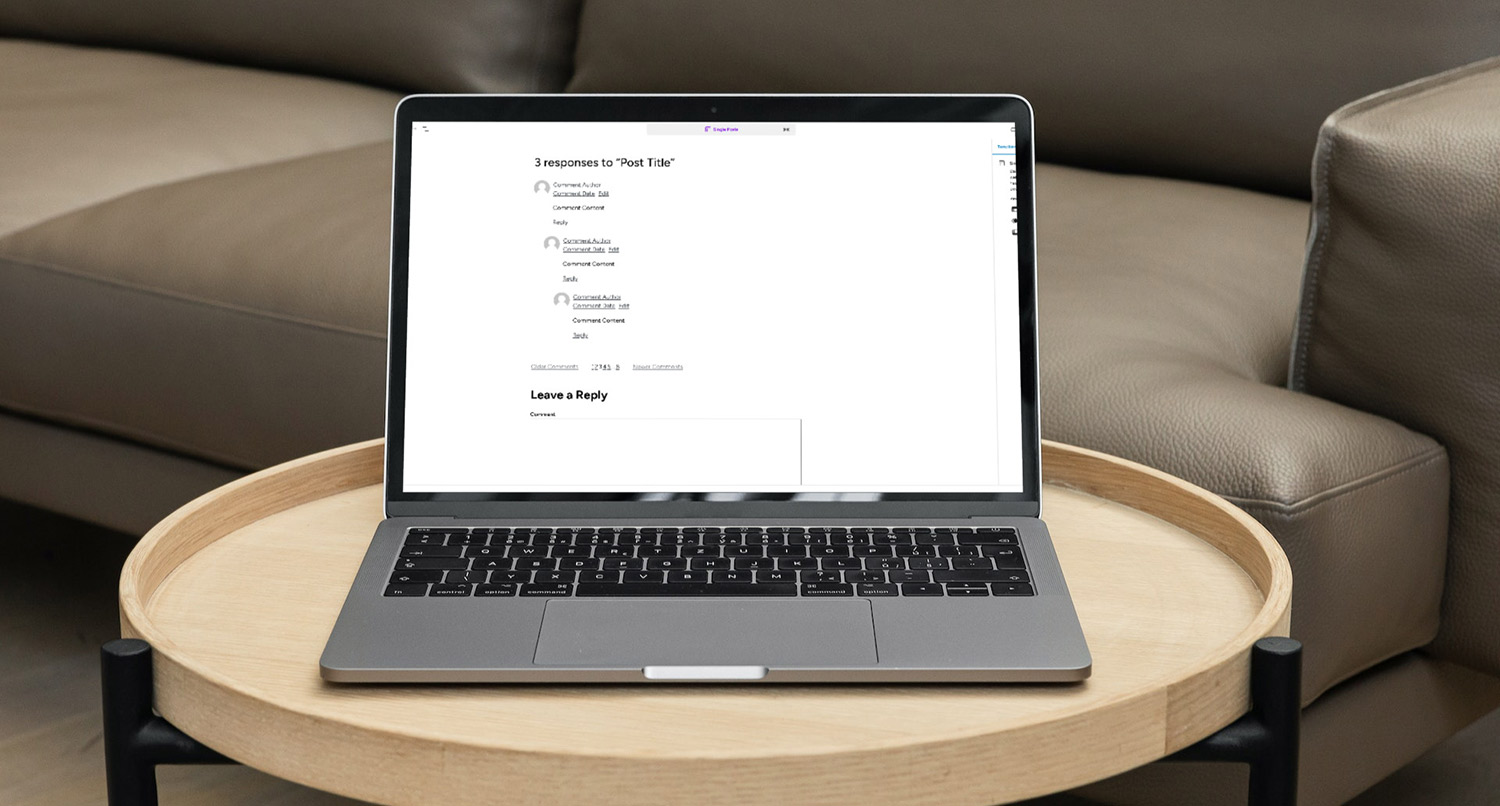
- Comments – You can add the comments block to your single template to foster discussion about the post. We talked more about the comments block in a previous blog post.
- Post Author – There are a set of author blocks you can use in the single template. You can have a simple byline or you can use the author name, bio and avatar blocks to create an author section at the end of your posts.
- Post Date – Just as the name says, this displays the date the post was published. You can also set the date format for the block as well.
- Categories – You can display the list of categories that the post is in.
- Tags – You can display the list of tags that the post is in.
- Post Navigation – You can show the next and previous posts to allow readers to move between posts.
How to Customize the Single Post Template
Making changes and customizations to your single post templates is pretty easy.
To customize the post template, go to the site editor and then select “Templates” and pick the single post template.
Once you’re here, you can do anything you want with the template.
If your theme doesn’t use a featured image in the template, you can add one here. Or maybe you want to display it as a cover block with the post title on top of it.
You can customize the post meta to include the author, category or tags. Or you can add an author box with the author’s name, avatar and bio to the end of each post.
Or you could add or remove the comments section to the template.
Really what you do is completely up to you. When you’re satisfied with your changes, hit “Save” to make them live.
How to Create Single Templates for Custom Post Types
Creating a template for a custom post type is nearly identical to creating a custom single post template.
First, go to the site editor and select “Templates”. Then choose add new to create a new template. Then select “single item:{your post type}”.
From here you can create a template for all of that post type or for a specific item, just like you can with a post.
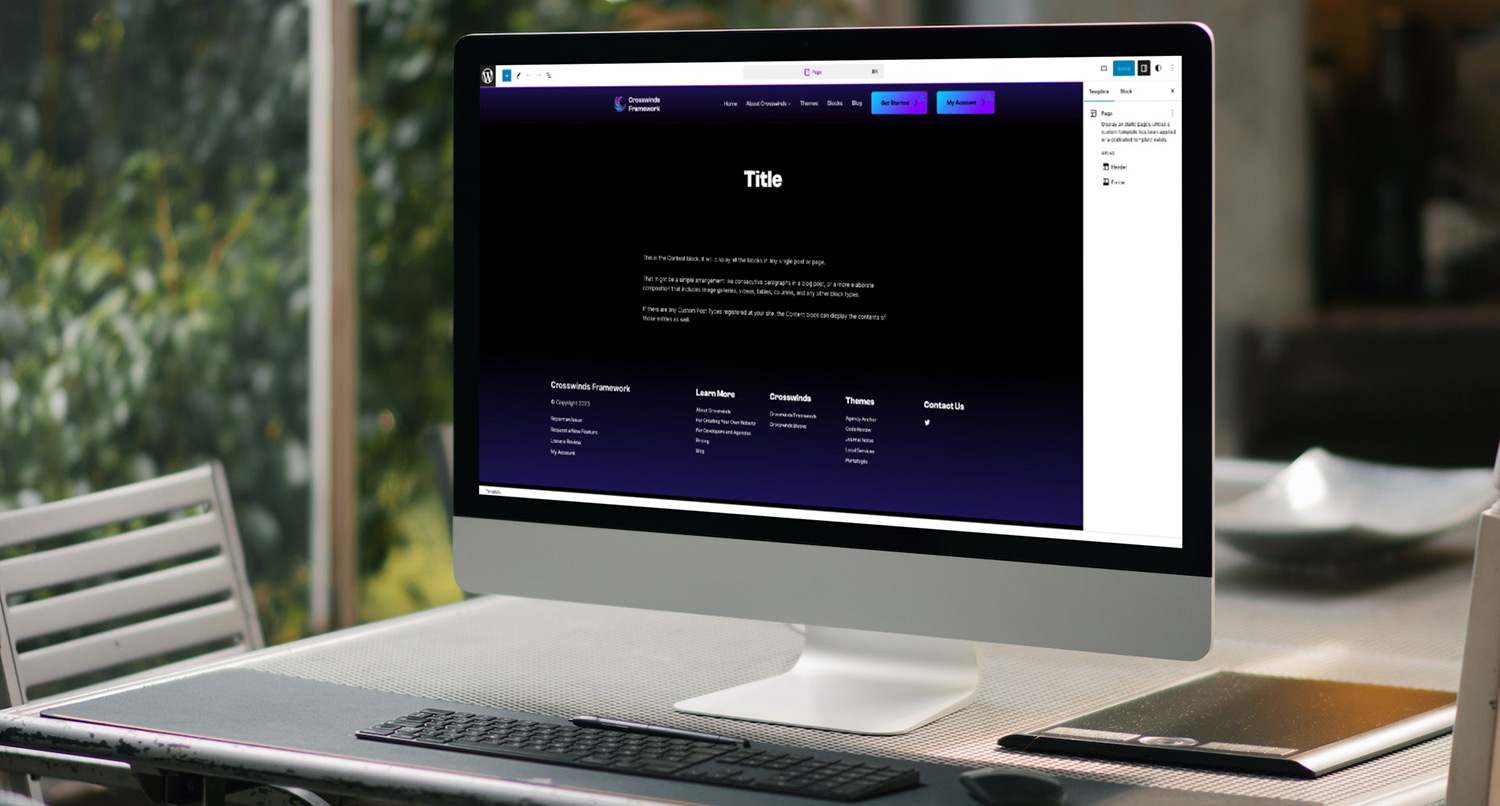
Once you’ve made your selection, create the template like you would with a regular single post template. Make sure that you have a header and footer template part as well as the title and content and whatever else you need for the template.
When you’re done and ready to make it live, hit “Publish.” You now have your own template for that post type.
Get Started with the Crosswinds Blocks and Framework
Want to add more features to your single post templates? Or want to start with a base single post template that’s already great? Then you’ll want to check out the Crosswinds Framework and Crosswinds Blocks today!
The Crosswinds Blocks plugin comes with several blocks designed specifically for the template. You can add in post navigation that you can customize the layout of. Or you can add in a related posts section where you can customize how posts are shown just like the post template block. And you can easily add in a social sharing block so people can share your content.
And the Crosswinds Framework comes with single post templates that are designed to be awesome. All you’ll need to do is make slight changes to get it looking just the way you want it. It doesn’t get any easier than that.
So check out the Crosswinds Framework and Crosswinds Blocks today!

