One really cool, but semi-hidden feature, in the WordPress block editor is the ability to apply block styles to any block.
This is a quick way to add in some simple styling to a block, like adding a drop shadow, border radius or some other styling change that the theme developer has built for that theme.
But one drawback to WordPress block styles is that you can only apply one style to a block at a time. And a lot of times you might want to apply multiple styles to a block you’re working on.
The good news is that there is a work around that you can use to apply multiple block styles to a block. It’s not exactly as straightforward as the default way to apply a single block style, but it gets the job done.
So let’s take a look at how you can actually apply multiple block styles to a block in WordPress.
What are Block Styles?
So first off, what exactly are block styles in WordPress?
Essentially, they are quick ways to style a block with just one click. But they are a little bit more complicated than that.
First of all, block styles are defined by the theme developer or potentially a plugin developer who wants to add styles to their blocks. They aren’t something that you can create on your own from the dashboard.
Second, block styles (at least at the time of writing) don’t affect the actual style settings for the block (like text color, background color, borders, etc.). Instead, it uses CSS defined by the theme (or plugin) developer. So if you choose a block style that adds a border to the block, you won’t see that shown in the border style settings for the block.
So why should you still use block styles despite these two points? Well, it’s any easy way for you to change the style of a block or a group of blocks with just one click. If you like the block styles that a theme has for various blocks, it can be a big help for speeding up creating a page or other piece of content.
It can really be a great tool for creating your website. So check it out!
How to Use Block Styles
Using block styles is incredibly easy.
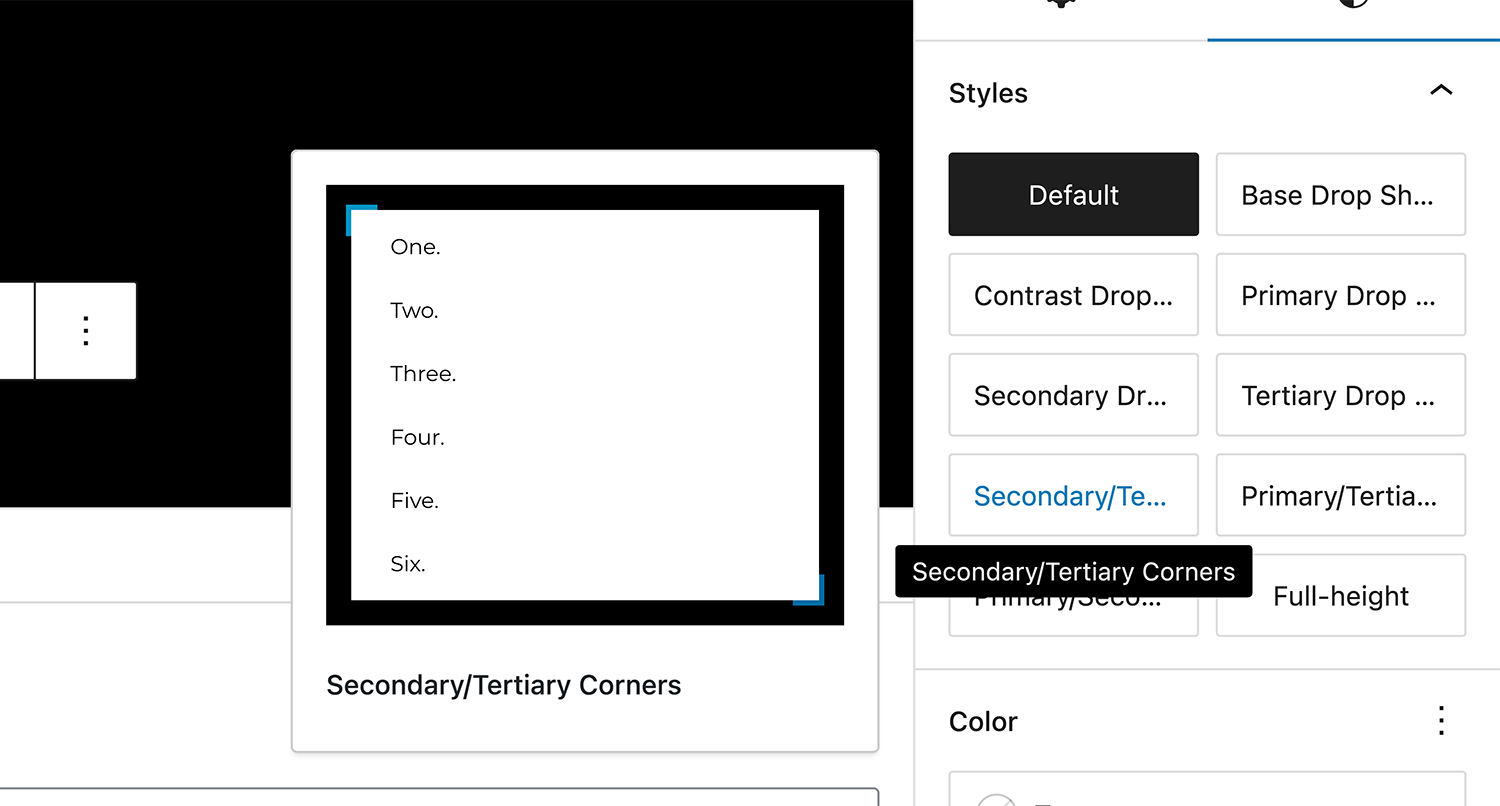
To get started, select a block in the editor. Next, go to the styles tab for the block in the right-hand inspector column. If the theme developer has defined block styles for that block, there will be a list of styles that you can choose from.
Finally, pick the style that you want for your block. If you need help figuring out which one is the right one, you can just choose one and see how it affects the block in the right editor.
And that’s all you need to do to apply block styles to your blocks.
But, you can only select one style for a block. Or can you?
How to Use Multiple Block Styles
Unfortunately, there isn’t an easy way for the user to apply multiple block styles to a block yet in WordPress.
But if you know a little bit about CSS and know the class for the block styles you want to apply, you can use the additional CSS classes field for the block to add in those block styles.
To do this, select the block you want to apply the styles to and then go to the right-hand inspector column. Next, scroll down to the “Advanced” section and expand it. Finally, in the “Additional CSS Class(es)” field, add in the CSS classes for the block styles you want to apply to the block.
It’s not a perfect workaround, and it can be a challenge if you don’t know your way around HTML or CSS or how to find the block styles included in your theme. But it is an option if you need to apply multiple block styles.
Hopefully that changes in a future WordPress major release.
How to Create Your Own Block Styles
Finally, let’s briefly cover how you can create your own block styles for your theme or website.
This will involve CSS and some PHP, so if you don’t know those two languages you’re kind of out of luck at the moment as there’s no way to create custom block styles in the admin.
The first method would be to create a CSS class in the “Addition CSS” option in the site editor and add the styles there. You could name the class something like .is-{your block style slug}. And then you can apply it to the block similar to what we just did in the previous section.
This is the quickest option since you don’t need to worry about PHP. But it doesn’t allow you to use the nice block style selector included in WordPress.
If you want to use that, you’ll need to use PHP and some CSS. While you can add the following code to your theme’s functions.php file, it will get overwritten in a theme update, so I recommend either creating a child theme or creating a custom functionality plugin.
register_block_style(
		'core/heading',
		array(
			'name'  => 'heading-line-left',
			'label' => __( 'Heading Line Left', 'agency-anchor' ),
			'inline_style' => '
			.is-style-heading-line-left {
				padding-left: 60px;
				position: relative;
				display: inline-block;
			}
			.is-style-heading-line-left::before {
				content: "";
				display: block;
				width: 50px;
				height: 2px;
				background: var(--wp--preset--color--contrast);
				left: 0;
				top: 50%;
				position: absolute;
			}'
		)
	);
When you’re ready, you’ll want to add in the following code using the register_block_style function.
The first argument is the block to add the style to and the second argument is an array with the details of the block style, including the name, slug and inline CSS to include both on the front and back end.
And if you want to apply the same style to multiple blocks, you can create an array of those blocks and then loop through that array using the same register_block_style function each time like the example below.
// Load the blocks into an array
	$blocks = array(
		'core/group',
		'core/columns',
		'core/image',
		'core/cover',
		'core/table',
		'core/pullquote',
		'core/quote',
		'core/calendar',
	);

// Loop through each block to add the block styles to them.
	foreach ( $blocks as $block ){

		foreach ( $block_styles as $block_style ) {

			if ( ( 'core/table' === $block && 'normal' === $block_style['name'] ) || ( 'core/quote' === $block && 'normal' === $block_style['name'] ) || ( 'core/image' === $block && 'normal' === $block_style['name'] ) || ( 'core/cover' === $block && 'normal' === $block_style['name'] ) || ( 'core/calendar' === $block && 'normal' === $block_style['name'] ) ) {
				continue;
			}

			register_block_style(
				$block,
				array(
			        'name'  => 'base-drop-shadow',
			        'label' => __( 'Base Drop Shadow', 'agency-anchor' ),
			        'inline_style' => '.is-style-base-drop-shadow {
				         box-shadow: 0 4px 20px 0 var(--wp--preset--color--base);
			        }',
		        ),
			);
		}
	}
But that’s how you can add in your own block styles to your website.
Get Started with the Crosswinds Framework
Want to start using high-quality pre-built block styles for your website right now? The Crosswinds Framework is just what you’re looking for!
With the Framework, you can build any type of website that you need, from a personal website to an online store to a business website, organization website and more. The theme comes with pre-built patterns for services, features, pricing tables, testimonials and more. Plus, you can use the full page patterns to quickly create pages in mere seconds.
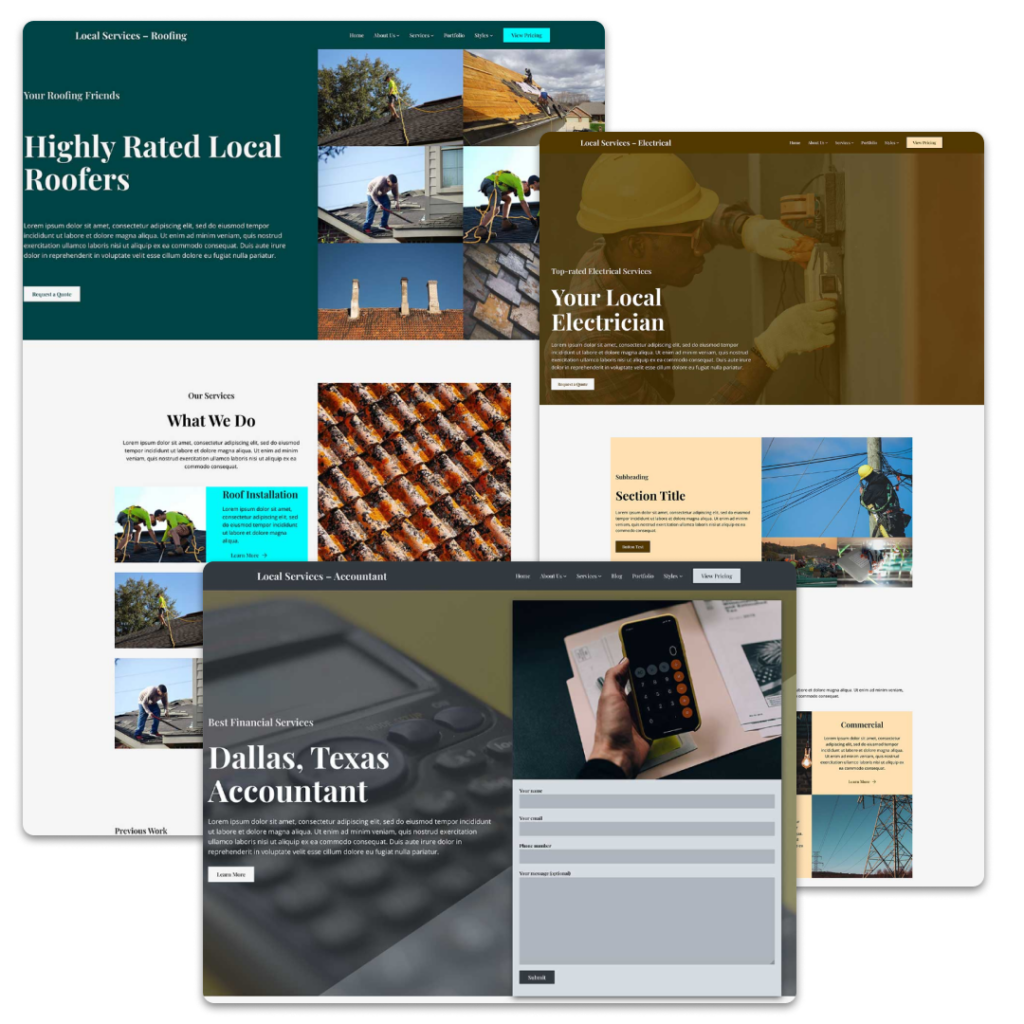
And if you want to make your website creation process even quicker, you can use one of the purpose-built child themes designed for specific niches. And the Crosswinds Blocks plugin adds in over 25 blocks that adds in even more functionality to your website like being able to create grids, show related posts, add in accordions and tabs and more.
Take your WordPress site creation experience to the next with the Crosswinds Framework today!
Tags:


