Getting started on creating a new website can feel overwhelming.
Even for a seasoned pro, staring at a blank canvas can make figuring out where to start a bit of a challenge. And if you’re building your first website, that blank canvas can lead to decision paralysis.
But if you use the latest release of the Crosswind Blocks plugin along with any of the Crosswinds Framework themes, you won’t have to worry about that blank canvas. Instead, you can use the new Onboarding Wizard to help you get that start to point you in the right direction.
By the time you follow each of the simple directions, you’ll have a great head start on building your new website with a sense of direction to help you finish the job.
So let’s take a closer look at the new Crosswinds Framework Onboarding Wizard.
The Challenge of Getting Started
Getting started building a new website can be a big challenge, especially for first time website builders.
When the web host finishes installing WordPress, users are presented both with the opportunity to do anything they want to do with their website, but also a dilemma of where to start.
Do you go into the settings and start there? Do you start to add in plugins to your website? Or do you jump into creating a homepage? There are so many different ways someone can get started building their website that it can result in decision paralysis.
And WordPress core doesn’t really help alleviate this problem. Unlike plugins like WooCommerce, once WordPress is finished being installed, it just dumps you right into the dashboard.
And that opportunity to do anything with a website can be extremely overwhelming.
How the Crosswinds Framework Onboarding Wizard Helps You
This is where the Crosswinds Framework Onboarding Wizard comes into play to help users get started on their websites.
Once you have WordPress installed on their web host and installs and activates both the Crosswinds Blocks plugin and the Crosswinds Framework theme (or any of the child themes), you’ll be able to access the Onboarding Wizard through the Crosswinds Framework settings screen.
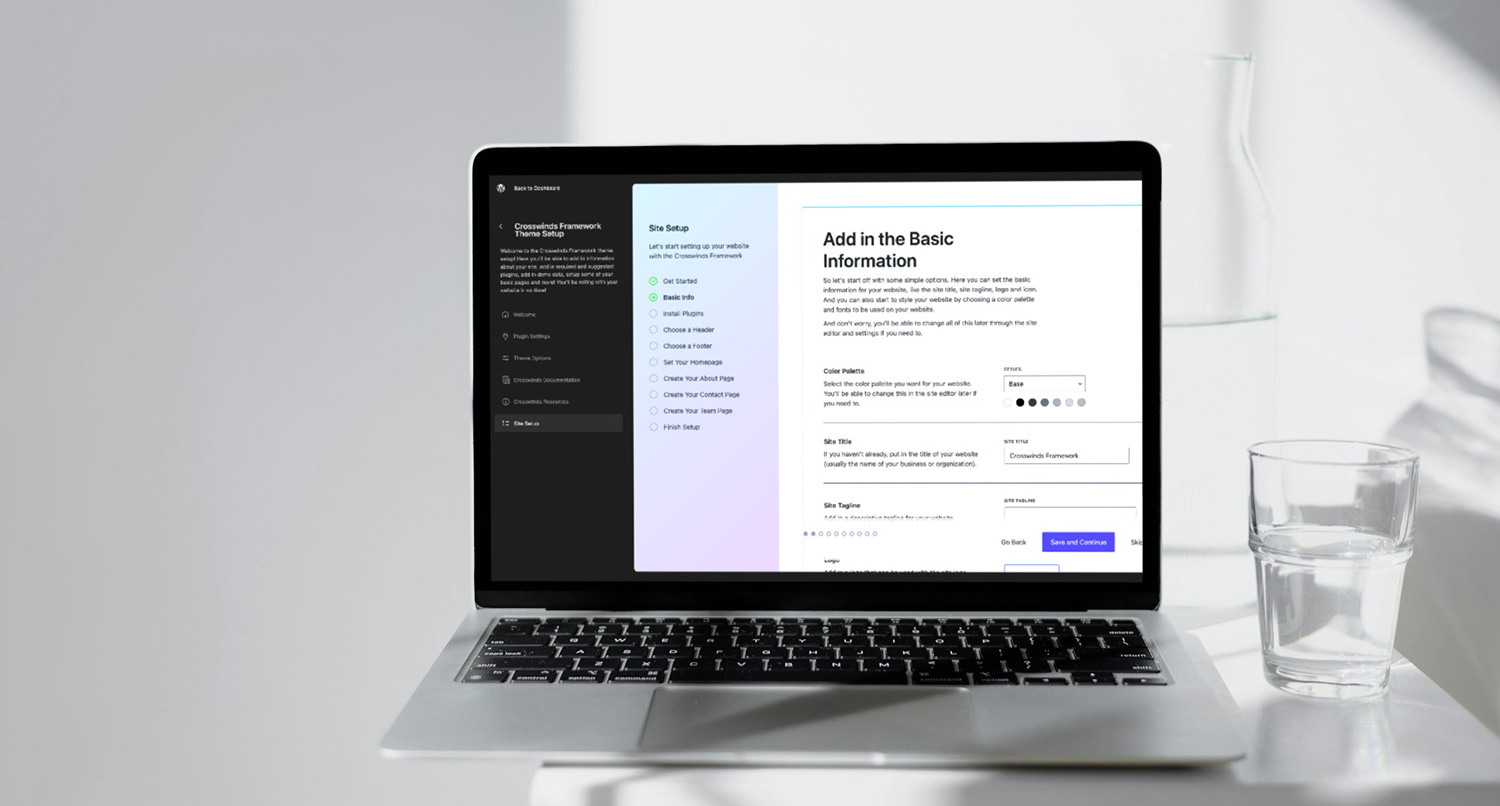
With the Wizard, you’ll be able to activate the theme license, set up the base settings, including the color scheme, site title and site logo, install the suggested and required plugins, import demo site content, set up the header and footer, create a homepage and so much more.
Plus, the end of the Wizard will point you in the right direction based on what you want to do next. If you’re creating an online store, you can jump right into using WooCommerce to create your store. If you want to start your blog, you can jump right into writing your first blog post.
While what you do once you’ve finished the Onboarding Wizard is up to you, there are still helpful sign posts to point you in the right direction.
In the end, the Onboarding Wizard helps you take that first step towards painting on that blank canvas so you can create your perfect website.
Using the Onboarding Wizard
So, how can you get started using the Onboarding Wizard today for your new website?
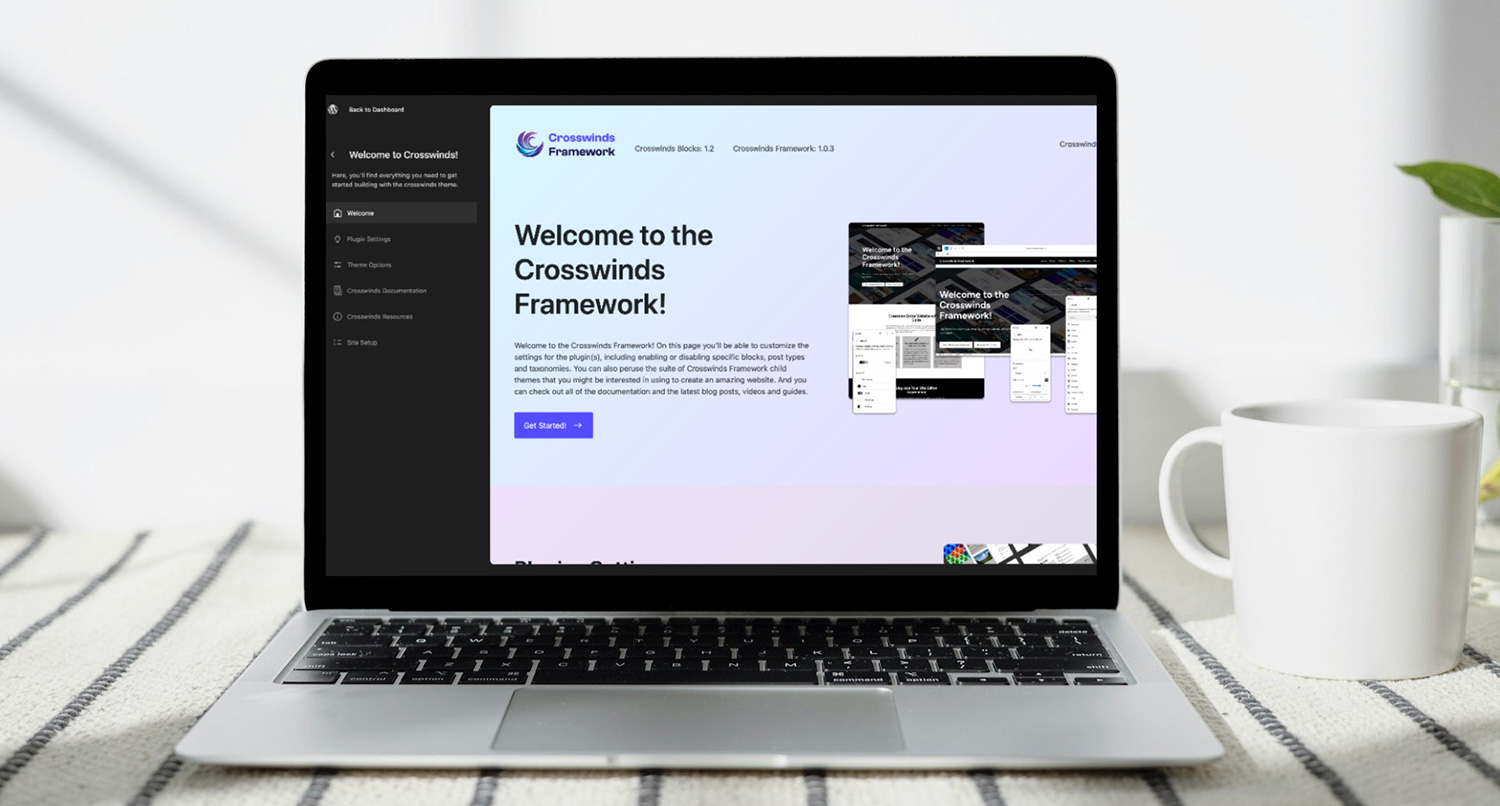
Once you’ve installed and activated the Crosswinds Blocks plugin, the Crosswinds Framework base theme plus the child theme you’ve chosen (if any), you’ll want to head on over to the new Crosswinds Framework settings page.
Once you’re on the settings page, select the “Onboarding Wizard” item from the menu on the left.
The Wizard will walk you through each of the steps along the way and explain everything as it goes along.
If you’re using a premium child theme, the first step will be to enter in and activate your theme license. Otherwise, you’ll move onto the next step where you can enter in general information like your site title, tagline and logo as well as select the color palette for your site (and don’t worry, you can customize those colors later on in the site editor).
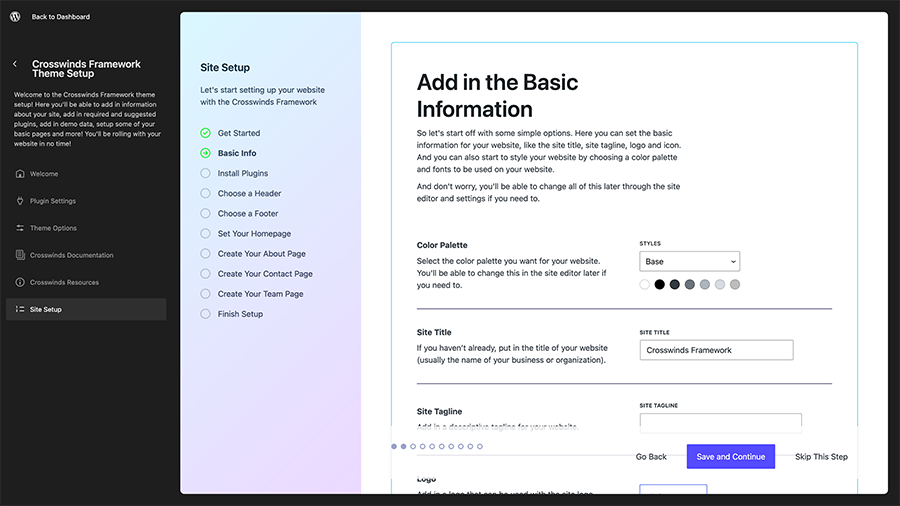
Once you’ve finished with the general settings, you’ll be able to install any required and suggested plugins that your theme has. You’ll be able to select which ones to install or not install with just one click.
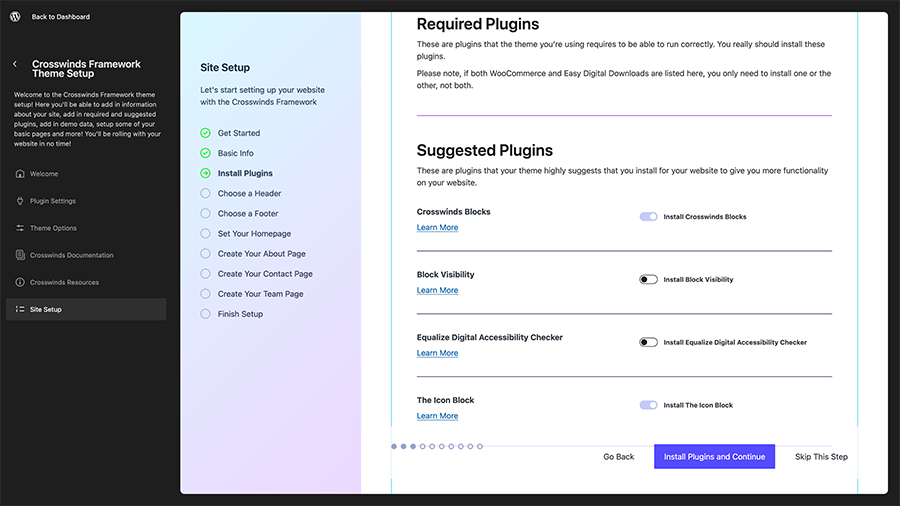
Next, you can import a demo site for your website if you want to get started even quicker with your site, and then you can move on to selecting your starting header and footer (which you’ll be able to customize completely later in the site editor).
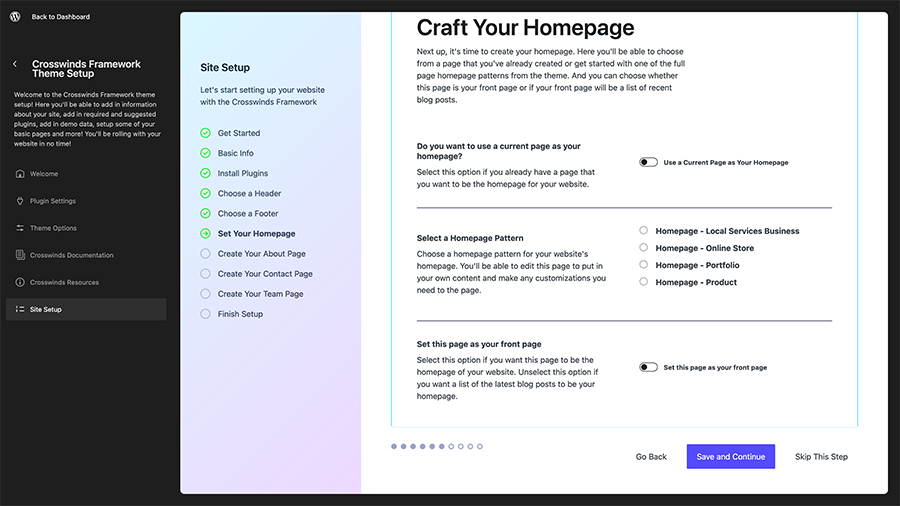
Finally, you’ll be able to set up your homepage either by choosing an existing page or creating a new page with a full page pattern you select, and then you can create your about, contact and team pages if you want.
And now that you’ve completed the Onboarding Wizard, you’ll find yourself on a page that helps you take your next step. You’ll have options to jump into setting up WooCommerce if you’re building an online store, starting your first blog post, heading over to the site editor to customize your website even further or just going to your homepage to see what your site looks like right now.
Whatever direction you head, you now have roughly half of your website built and you have a sense of direction for your website. Now use this momentum to finish creating your amazing website.
Get Started with Your New Website Using Crosswinds Framework
Ready to get started creating your website with the WordPress site editor? Want help getting started instead of staring at a blank canvas? The Crosswinds Framework is here to help!
The Framework gives you all of the tools that you need to create the perfect website with the site editor. The Crosswinds Blocks plugin adds in over 25 blocks that allow you to do so much more with your website, like create awesome grid layouts, display related posts on your blog post pages, display a specific post or other piece of content and so much more.
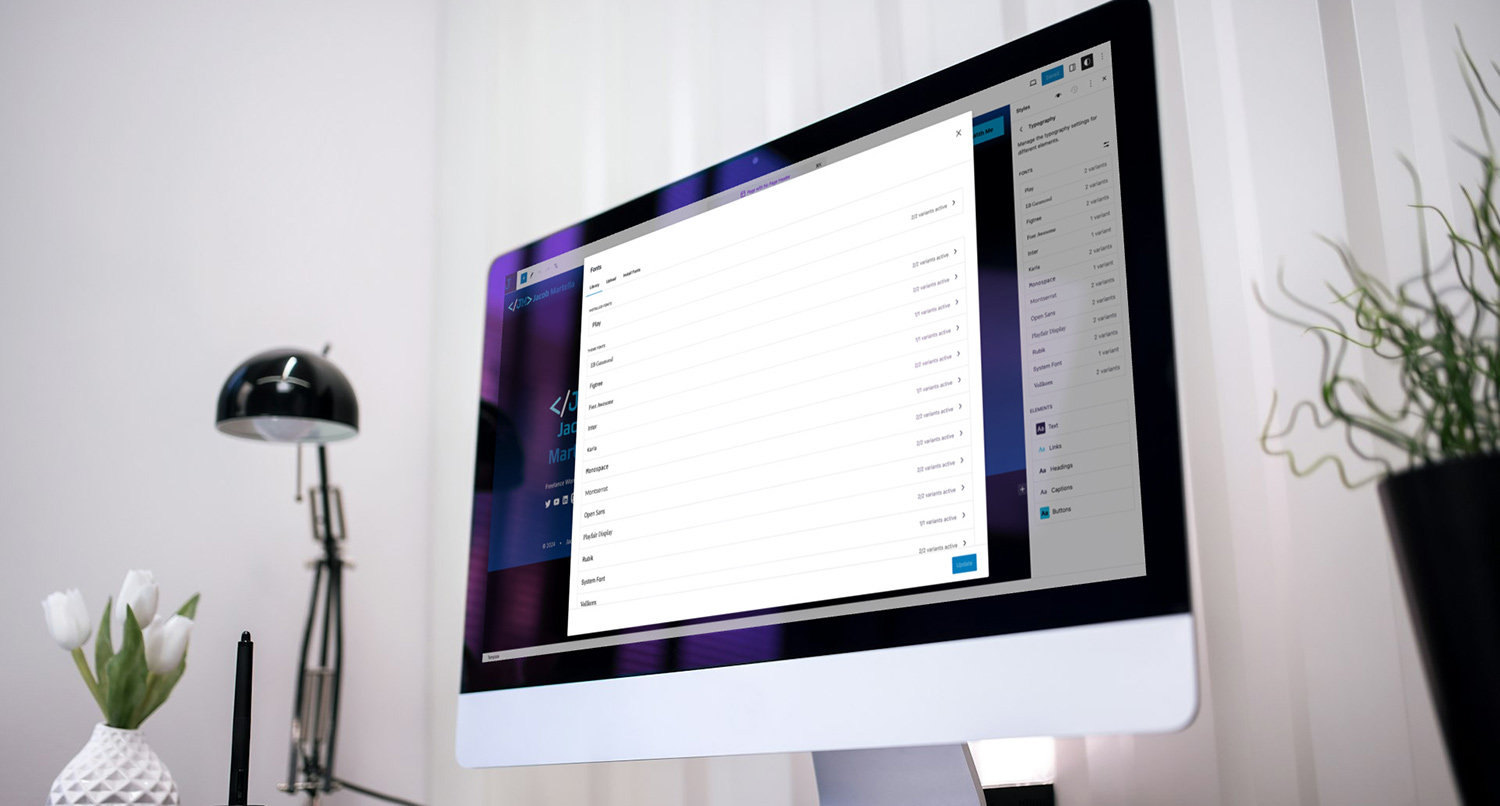
Plus, the Crosswinds Framework theme enables the WordPress site editor and extends it with numerous color and font options, an array of patterns to make creating your pages a breeze and more.
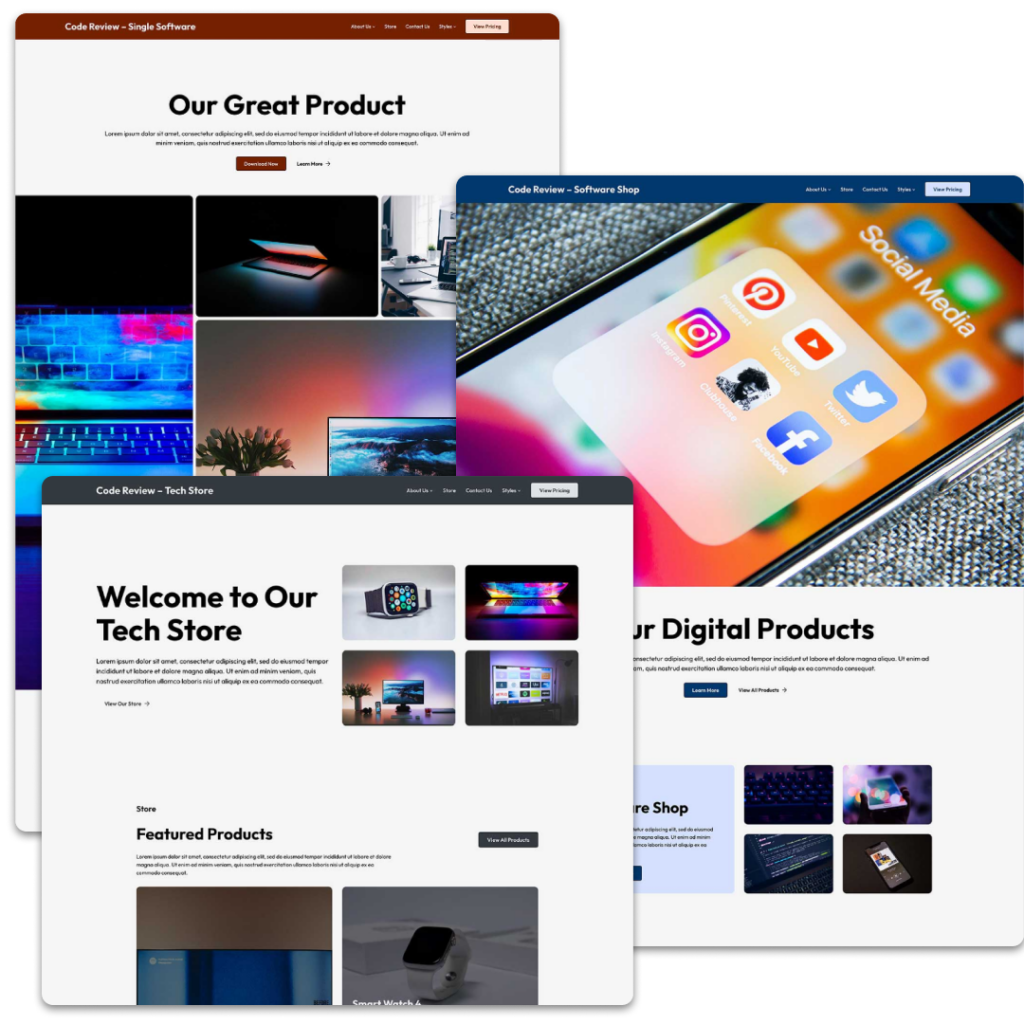
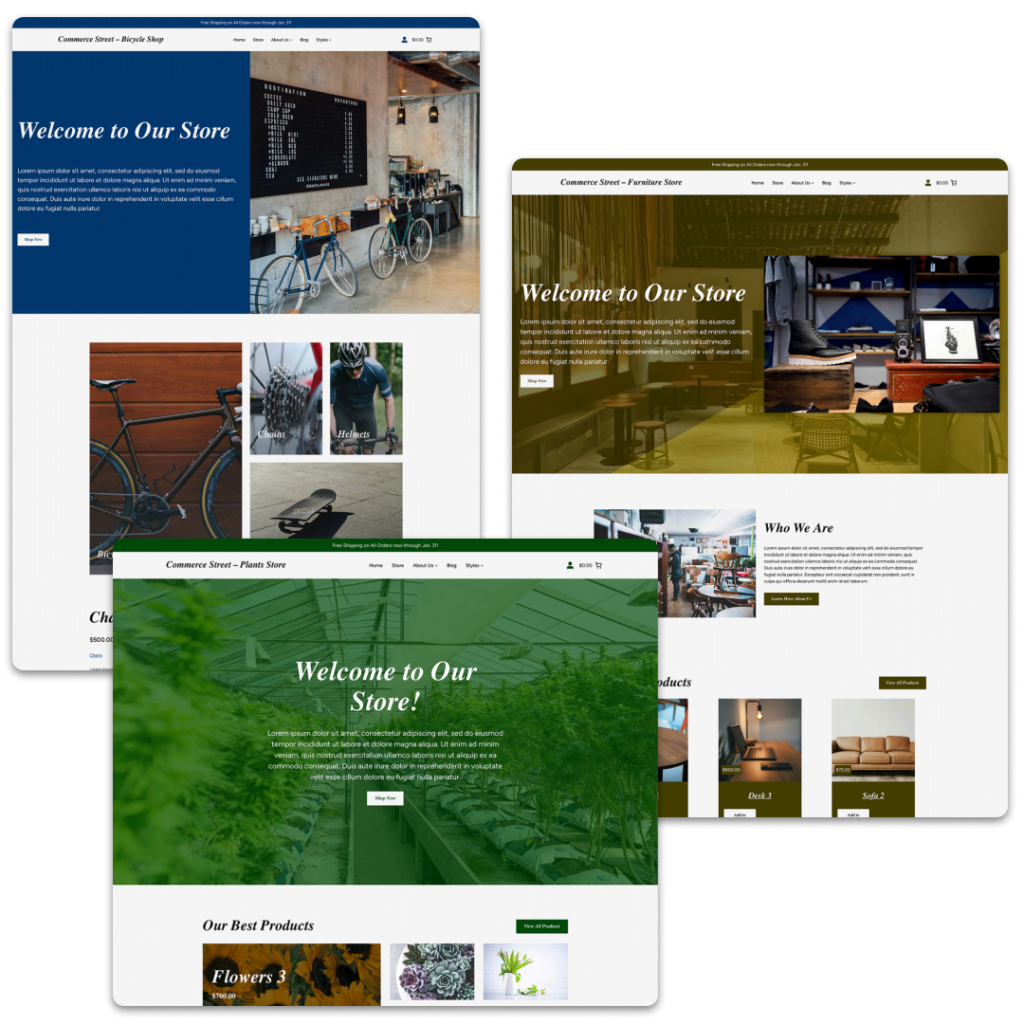
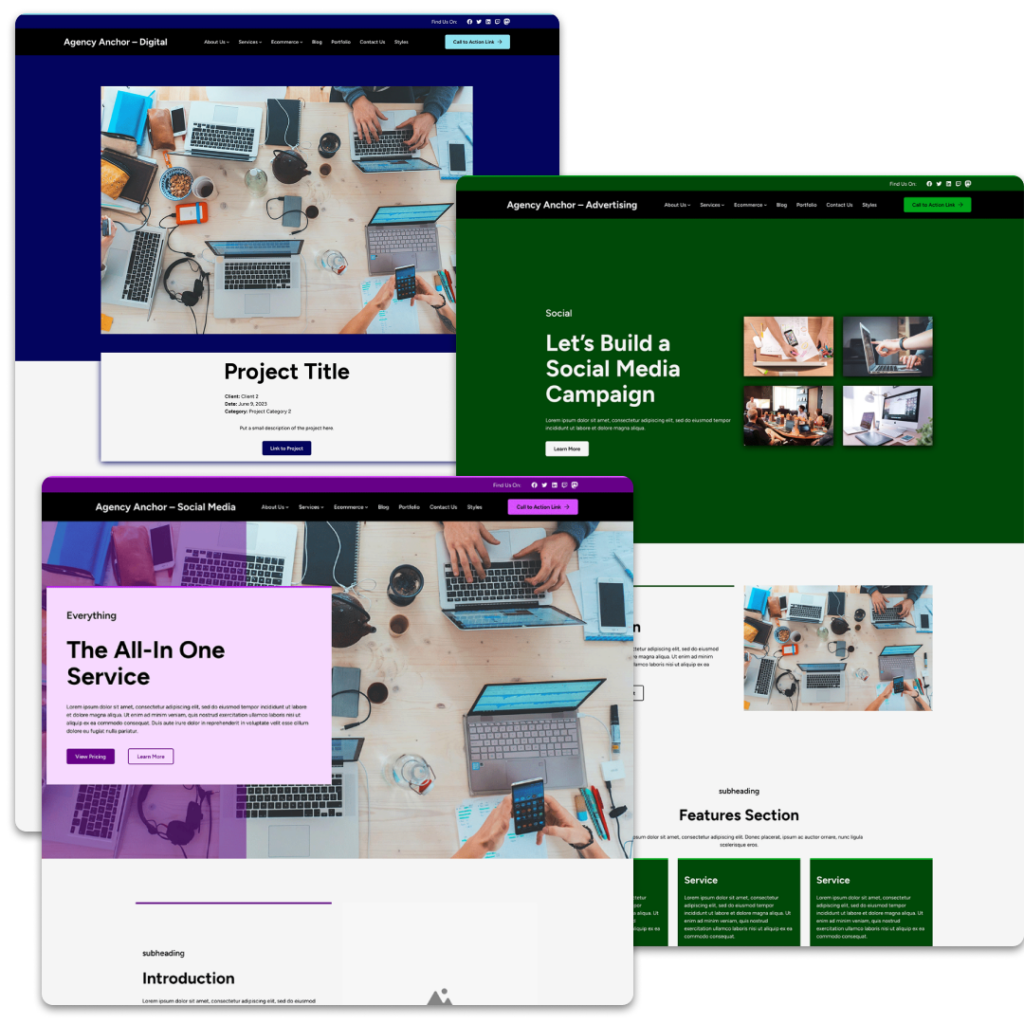
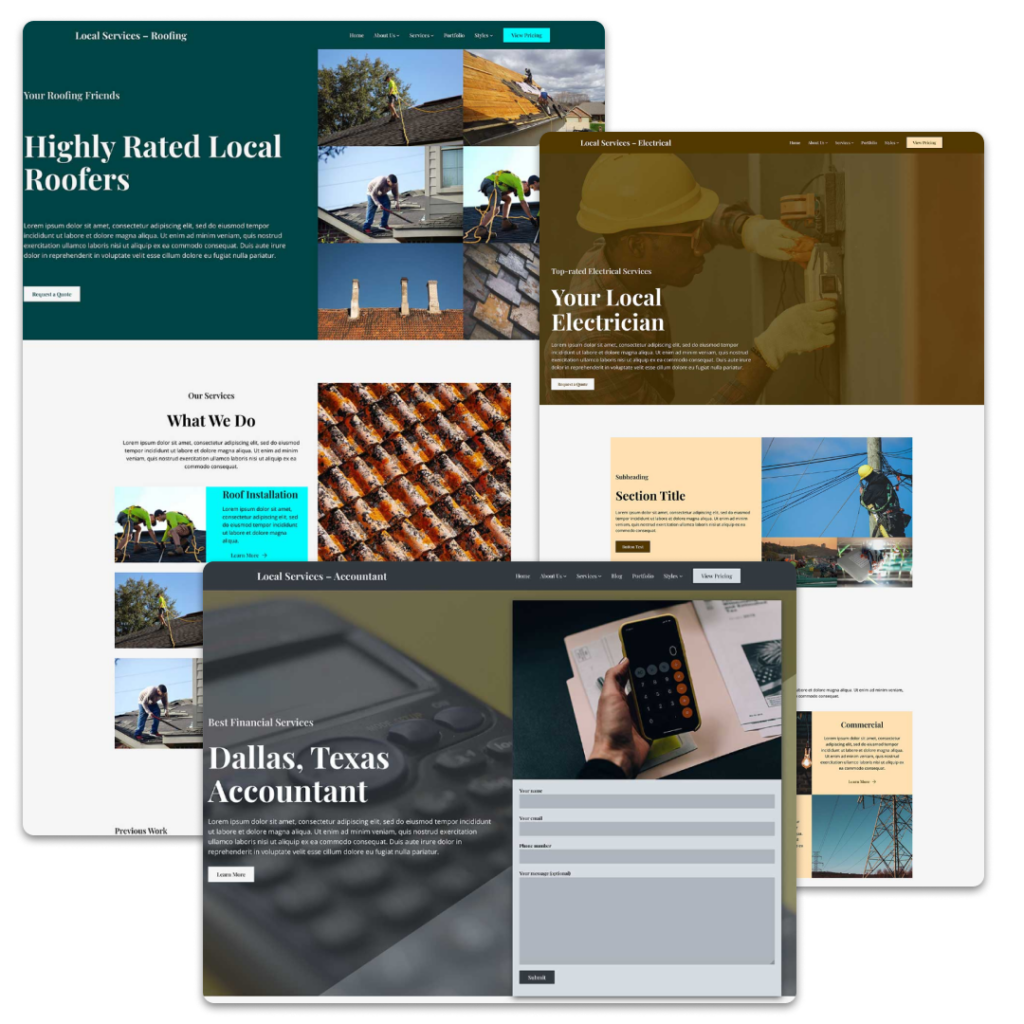
And if you want to get started even faster, check out one of the premium child themes that are built for different niches. You’ll be up and running with your website in no time.
So if you’re ready to get started using the WordPress site editor like a pro today, it’s time to get the Crosswinds Framework!
Tags:

