Search is still a tricky thing to deal with for WordPress websites.
Out of the box, the WordPress search functionality does a pretty okay job of allowing a user to search for a term and showing the results. But for complex websites with a number of different post types, it leaves a lot to be desired.
The various search blocks included in the Crosswinds Blocks plugin, however, can help you add cool new functionality to your website’s search for free.
There are a number of different blocks that allow you to create custom searches with any type of filtering you want, including limiting a search to a specific post type. Plus, you can customize how search results are displayed based on the post type being searched for. It truly puts you in control of how searches look on your website.
So let’s dive in to learn how you can utilize these blocks to take your website’s search game to the next level!
Creating Search Filters
The first thing you’ll want to do when customizing your website’s search experience is to create search filters. These filters can be for any post type you want, and you can include searching by any taxonomy or keywords.
Here’s how you can get started with the search filters blocks right now.
Selecting the Parent Block
The first thing you’re going to want to do is to add the parent Search Filters block to the page or template.
This block will house all of our search filters. And you can choose the post type that’s being searched for in this set of filters (in the right hand inspector column).
A good rule of thumb is to add this block in first and then add in a group or columns block for your styling inside of the block. It just makes things a whole lot easier when you’re trying to style the filters, especially if you want the filters to be horizontal with each filter in a content.
Once you’ve got that set up, it’s time to add in the filters blocks for your search.
Adding in the Filters
Now it’s time to add in your filters, and the good news is that this is pretty easy.
All you have to do is inside of the parent block add a search filters block. There are blocks for every taxonomy that’s registered on your website, so you could add in filters for categories and tags for default set ups or for video playlists or topics if you’re using the Videos post type included in the Crosswinds Blocks plugin or any custom taxonomy you have on your website.
At the moment, all of the filters are simple dropdowns, though that might change in future updates to the plugin. But you can change the label for each filter if you want.
Once you’ve got your filters in place, you’ll just need to add the Search Filters Button block so that your site’s visitors can search for those terms or reset the fields. You can customize the label for each button as well as change the background color for each button.
After you’ve got that all set up, your search filters are good to go!
Customizing the Search Results Template
Now that you’ve created search filters, it’s time to customize your search results template to display results based on the post type that’s being searched for. The good news is that the Crosswinds Blocks plugin adds in two blocks that help you do just that.
So let’s take a look at how you can display search results differently based on the post type being searched.
Adding the Parent Block
The first thing you need to do is go to your search template in the site editor and replace the default query loop block that’s already there. In its place you’ll add the Post Type Search Results block.
This is the parent block that will contain all of our other post-type specific search results blocks.
The good news is that once you have it added to your template, it’s time to move on to the single results block as there are no other options for you to set.
Creating Results for a Specific Post Type
To add in results for a specific post type, you’ll want to make sure you have the Post Type Search Results block selected and then hit the “plus” icon. This will add in the Single Post Type Search Results block as well as a query loop block inside of it.
With the Single Post Type Search Results block, you’ll want to choose the post type that these results will be shown for (or choose all post types for if the post_type query isn’t set).
Then in the Query Loop block, make sure that the “Inherit query from template” option is selected so that the block inherits the query from the search template.
Once you’ve done that, you can customize how the results look. For example, if it’s blog posts, maybe you want to show the featured image, categories for the post and the posted date. Or if it’s projects, maybe you want the featured image as well but want to show the project categories instead of post categories.
And you can add in as many Single Post Type Search Results blocks as you want inside of the main Post Type Search Results block.
Really, at this point what you do with the search results is completely up to you!
Creating Results for All Post Types
Finally, once you’ve created the results for each post type that you want, you’ll want to add in one last Single Post Type Search Results block and select the “All Post Types” option. This way you have something to always fall back on in case someone searches for a post type you don’t have specific results for or if the post_type query for the search results.
Otherwise, you’ll introduce a user experience headache if they find that edge case.
Example of the Search Filters and Results in Action
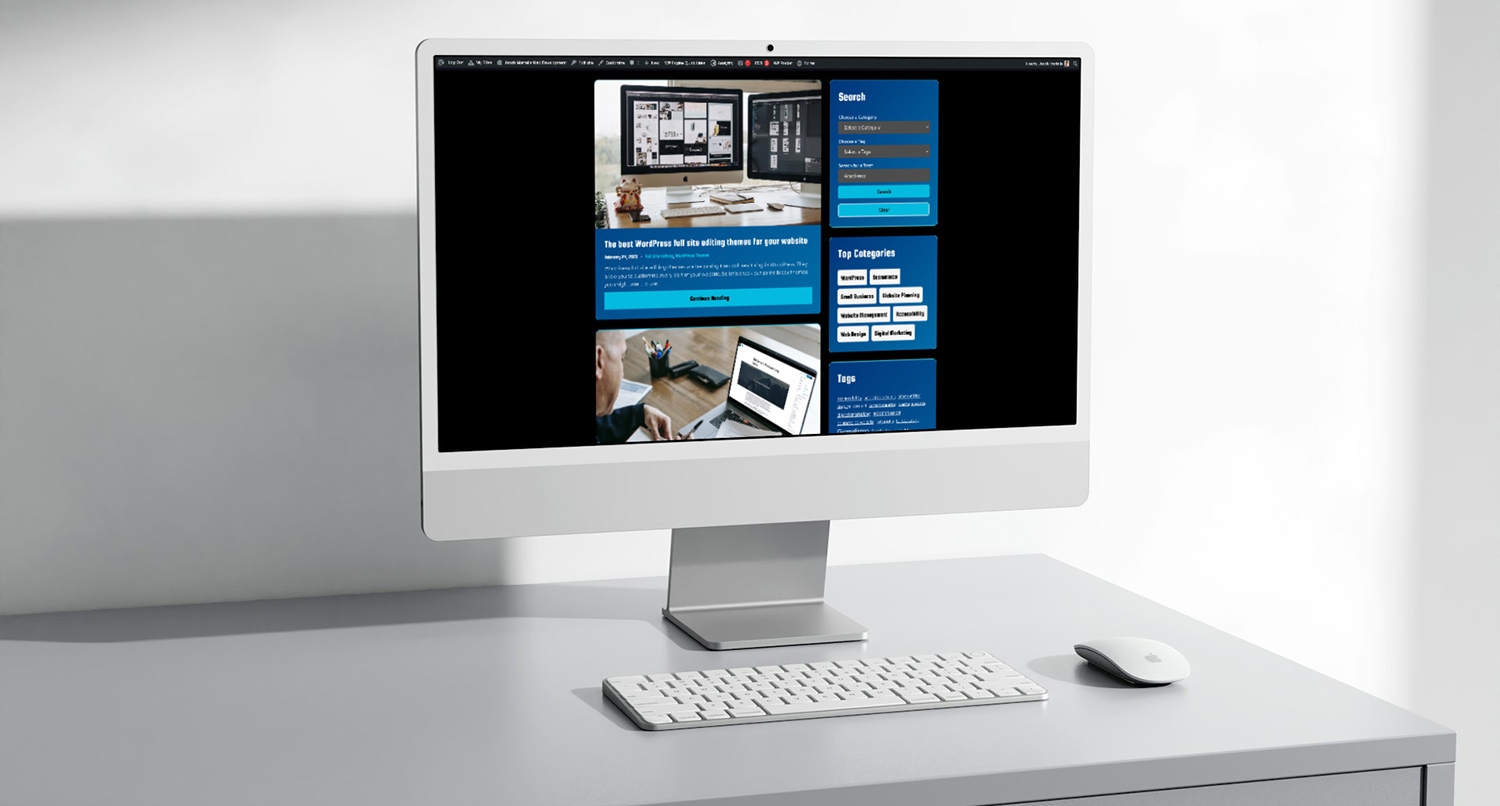
If you want to see an example of both the search filters blocks and the Post Type Search Results block in action, you can check out jacobmartella.com.
On this website I have four main post types: posts, videos, resources and projects. And I wanted to customize the search experience for each of those post types. The filters needed to match what was available for each post type, and I wanted the search results to match the archive templates for each post type.
The end result turned out to work pretty well. If you search for blog posts, you’ll get a list of posts shown just like the blog page. And the same goes for the other post types — all while making sure each post type shows relevant information like categories for posts, playlists for videos, project categories for projects and so on.
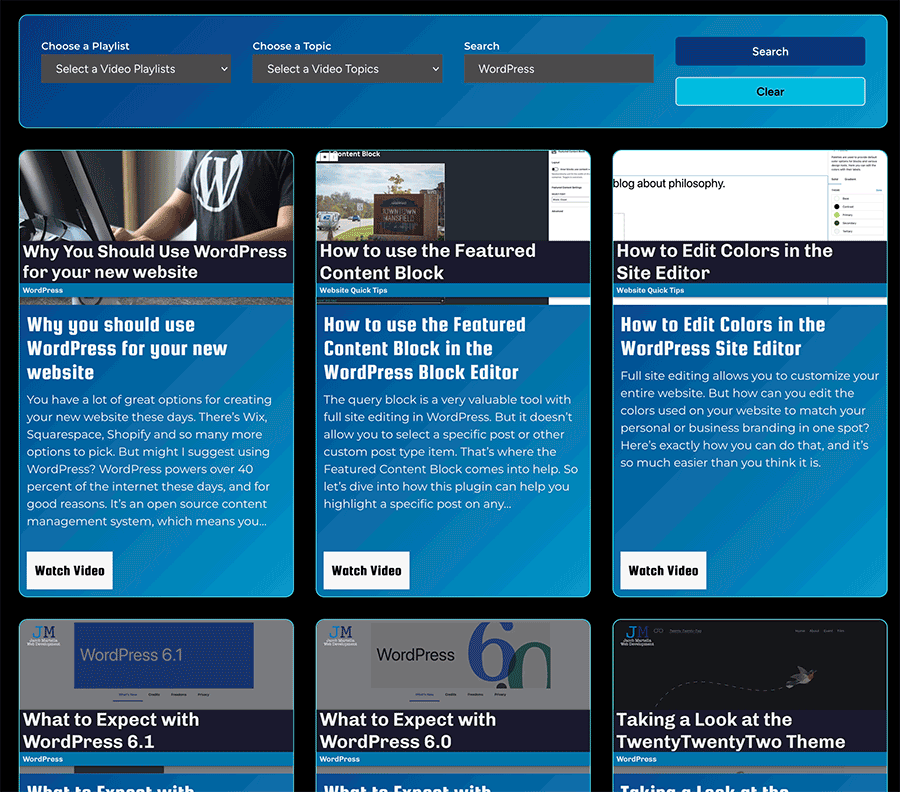
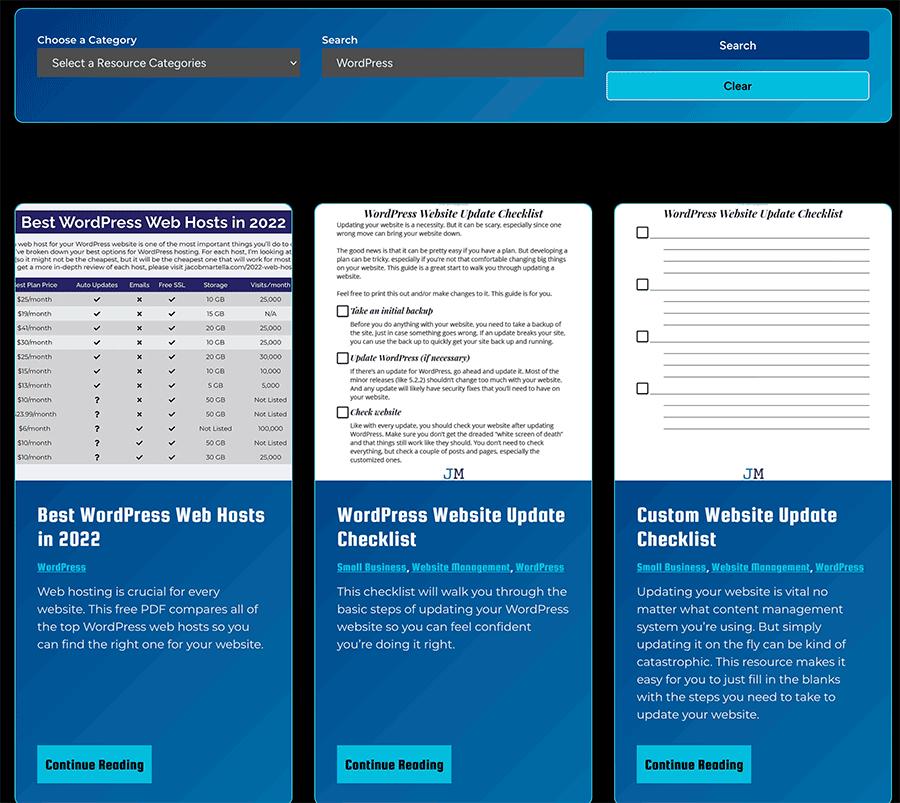
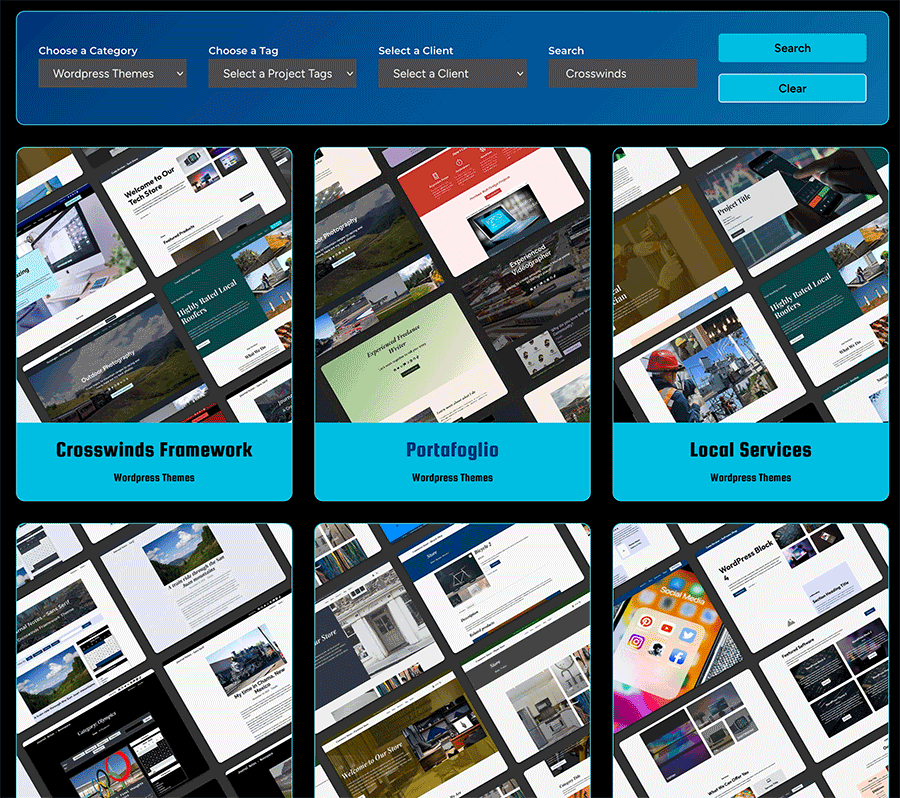
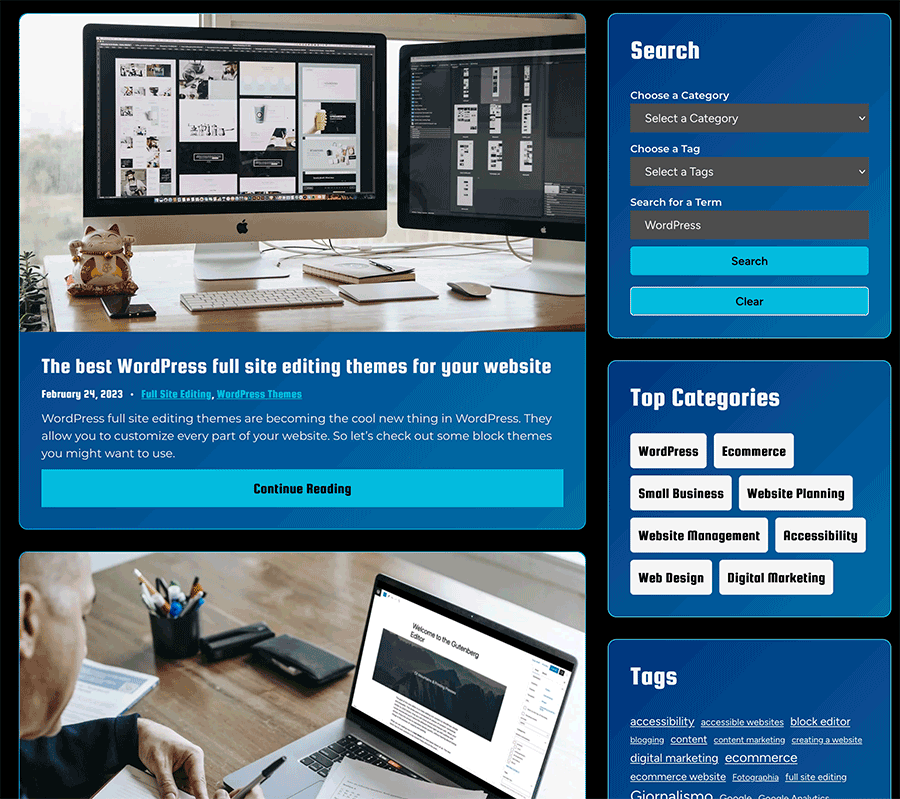
If you’re looking for a live demo for what you can do with these blocks, you’ll definitely want to check it out!
Get Started with the Crosswinds Blocks Today
Want to take your website’s search to the next level for free? Then it’s time to get started with the Crosswinds Blocks plugin today!
With the plugin, you’ll be able to easily create great search filters that improve your user experience and display the results the way you want them to look based on the post type.
Plus, you’ll get access to over 20 other powerful blocks that allow you to display custom grids, highlight a specific blog post or other piece of content, show related posts and post navigation that you can completely customize, add accordions and tabs and so much more.
Using the Crosswinds Blocks plugin will upgrade your WordPress site editor experience overnight. So get started with it on your website today!






Crosswinds Blocks 1.1 Released Today